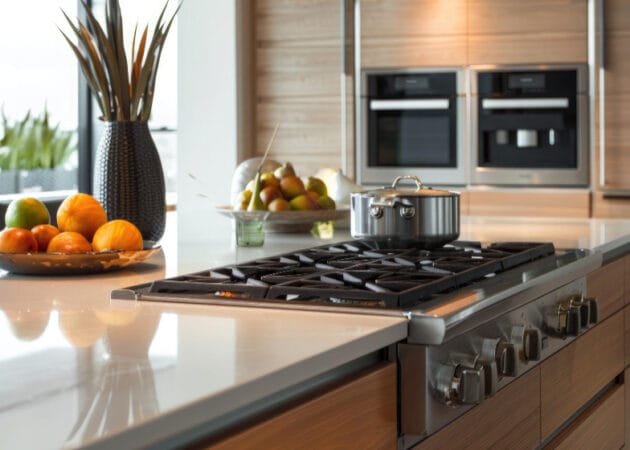
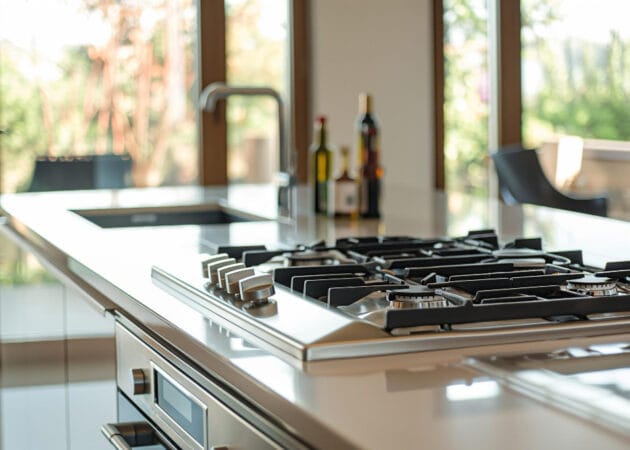
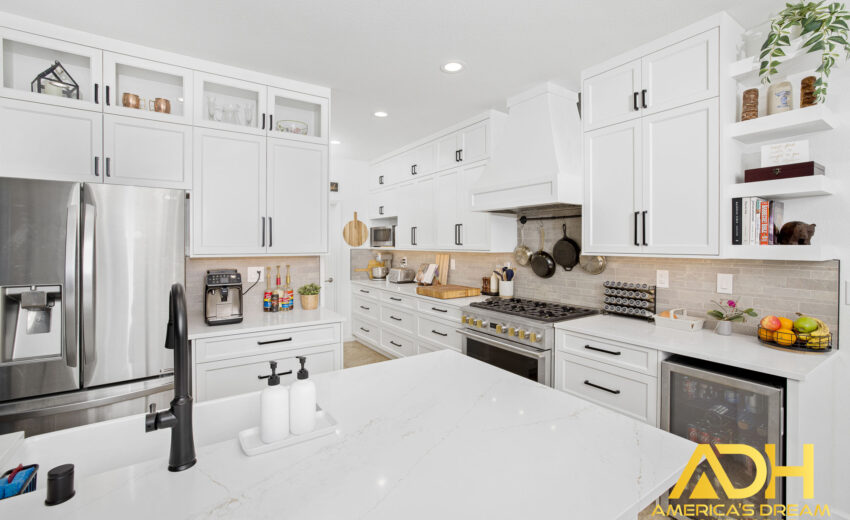
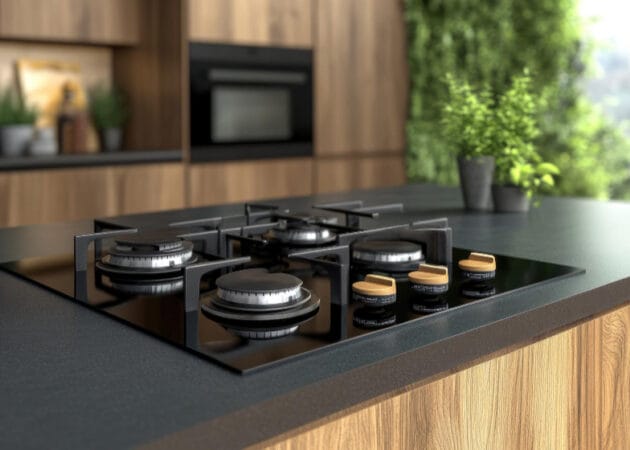
A kitchen island with stove can turn a standard kitchen into a true chef’s workspace and entertaining hub. But let me be clear: it’s not a project you rush into. Adding a stove to an island isn’t just about looks — it’s about safety, ventilation, function, and proper installation.
Too often, I’ve seen homeowners install one without thinking through the details, and it ends up being a costly mistake. Let’s walk through this the right way — step by step.
Step 1: Assess Your Kitchen Layout
Before anything else, ask yourself: does your kitchen have enough room for an island with a stove?
You’ll need at least 36–42 inches of clearance on all sides for traffic flow.
If the island doubles as seating space, plan even more clearance.
Think about the “kitchen work triangle” — stove, sink, and fridge should form an efficient flow.
👉 If your kitchen feels cramped already, forcing a stove into the island may create more problems than it solves.
That’s why a professional kitchen remodeling consultation is so valuable — it ensures your space can truly handle the upgrade.
Step 2: Plan for Ventilation
Here’s where most homeowners go wrong. A stove needs proper ventilation — period. Without it, you’ll end up with lingering odors, grease buildup, and potential safety hazards.
Options include:
Overhead range hood: The most effective, but requires ductwork through the ceiling.
Downdraft ventilation: A built-in vent that pulls air downward. Less effective but works in open layouts where a hood isn’t practical.
👉 Cutting corners on ventilation is a big mistake. Always plan for a system that matches the power of your stove.
Step 3: Address Electrical and Gas Needs
Installing a stove in an island means running power or gas lines to the center of the room. That’s not always simple.
Electric stoves need dedicated circuits.
Gas stoves require professional installation with proper piping and venting.
Both require pulling permits and meeting local code. Never DIY this step — hire a licensed pro.
Step 4: Think About Safety Clearances
With a stove in the island, you’ve got open cooking in the middle of the room. That means extra attention to safety.
Keep 12–18 inches of counter space on each side of the stove for landing zones.
Avoid placing seating directly behind burners — kids and guests don’t need hot pans too close.
Use heat-resistant countertops for surfaces adjacent to the stove.
👉 Safety isn’t optional. If you can’t create proper clearances, rethink the design.
Check Our Recent Projects
Step 5: Choose the Right Cooktop or Range
Not all stoves are ideal for island installation.
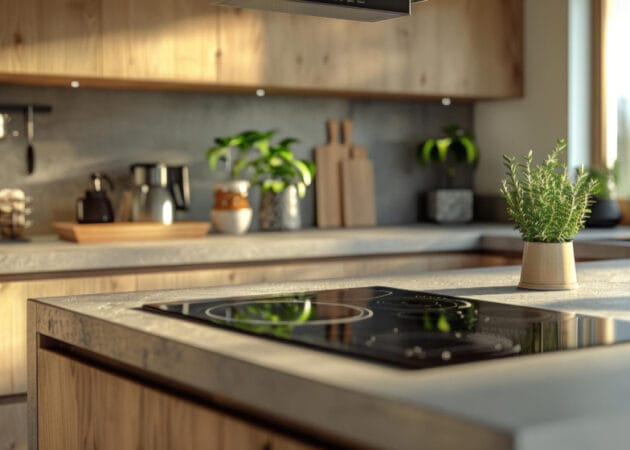
Induction cooktops are popular because they heat efficiently and stay cooler to the touch.
Gas cooktops provide strong heat control but demand excellent ventilation.
Slide-in ranges give you oven and cooktop in one but require more planning for fit.
Think about how you cook — quick meals, big family dinners, or entertaining — and choose accordingly.
Step 6: Factor in Storage and Function
An island with a stove isn’t just about the appliance. Plan the surrounding storage and features:
Drawers for pots and pans directly below or beside the stove.
Pull-out spice racks for easy seasoning access.
Trash pull-outs within reach for quick clean-up.
Counter space for prep work and plating.
👉 Custom solutions like cabinet refacing or custom cabinetry ensure the island isn’t just functional but beautiful, too.
Step 7: Budget and Permits
Here’s the reality check: adding a stove to an island costs more than dropping one against a wall. Expect to budget for:
Electrical or gas line installation.
Ventilation systems.
Permits and inspections.
Custom cabinetry adjustments.
Skipping permits is asking for trouble. Get the paperwork, do it legally, and protect your home’s value. For a clear picture, start with our kitchen remodel cost guide.
Step 8: Hire the Right Pros
This isn’t a DIY project. You’ll need:
An electrician (for circuits).
A plumber or gas fitter (for gas lines).
A contractor (for cabinetry and countertop adjustments).
Possibly an HVAC pro (for ductwork and ventilation).
👉 Do it right the first time. Cutting corners here leads to dangerous mistakes.
Final Thoughts
A kitchen island with stove can be a fantastic upgrade — it makes cooking more social, adds function, and becomes the centerpiece of your kitchen. But it only works if you plan carefully and install it correctly.
Think about layout, ventilation, safety, and storage before you dive in. And above all, hire pros who know what they’re doing. A beautiful kitchen isn’t worth much if it’s unsafe.
At America’s Dream HomeWorks, we design and build kitchens with safety, durability, and style in mind. Whether it’s flooring remodels, countertops, or full-scale kitchen remodeling, we’ll help you plan every detail so it looks great and works even better.
✨ Ready to create a kitchen that’s safe, stylish, and functional? Visit our showroom or contact us today — let’s build it right, together.

