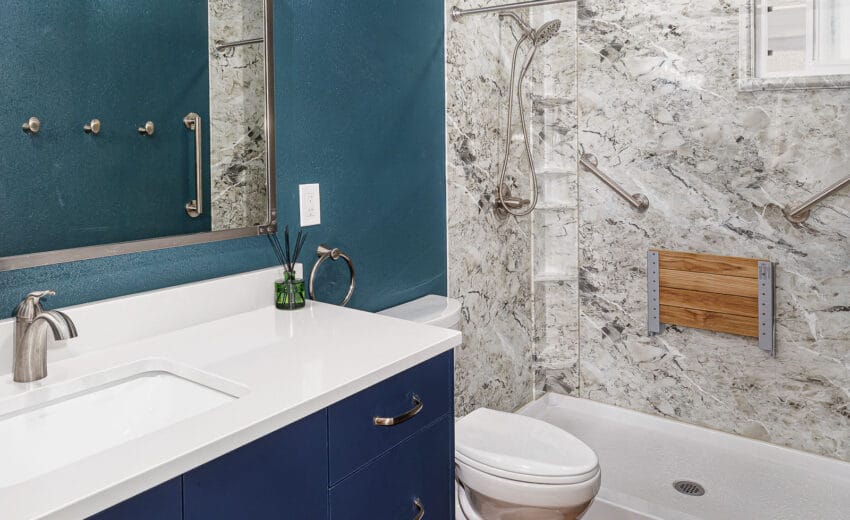
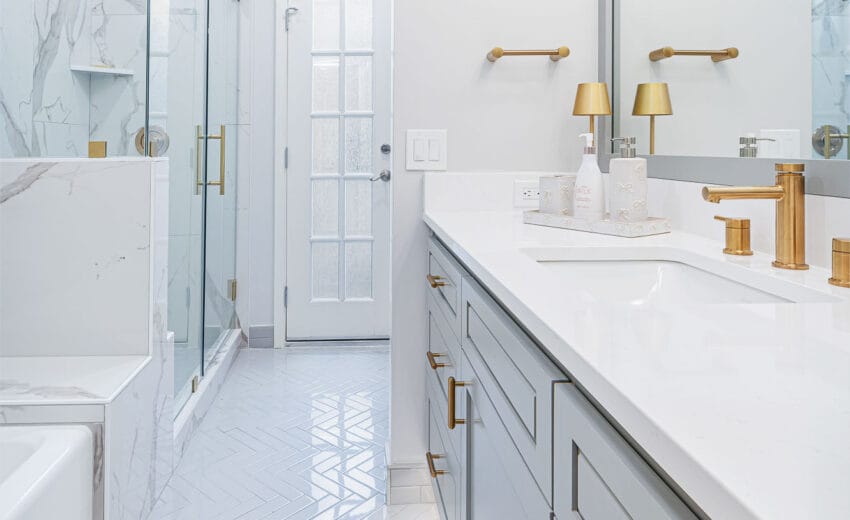
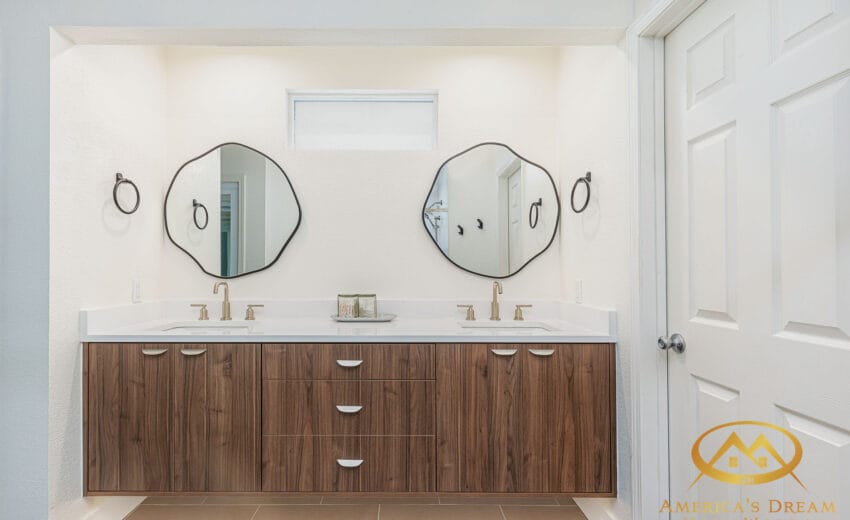
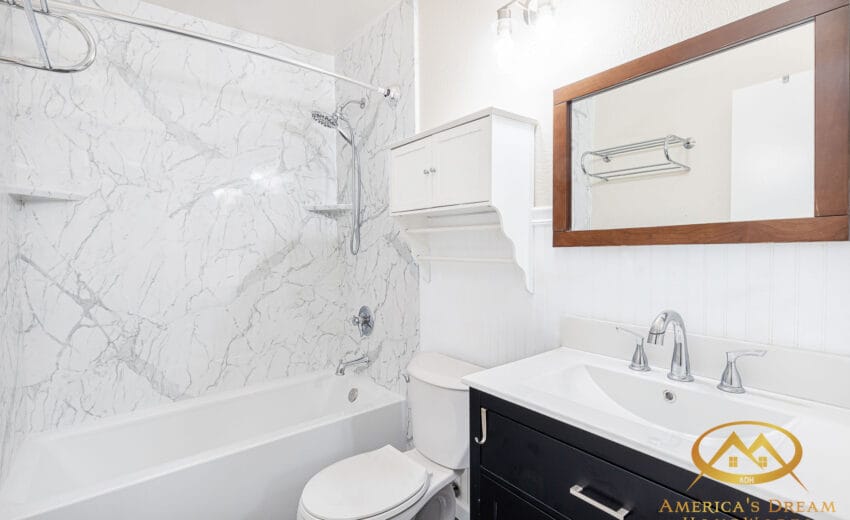
A well-chosen bathroom vanity is more than a piece of furniture—it’s a defining feature of your bathroom’s identity. Whether you’re going modern or timeless, bold or serene, how you install it matters just as much as what it looks like.
This step-by-step guide to bathroom vanity installation walks you through the process with clarity and confidence—channeling the clean lines and thoughtful finishes of Shea McGee’s design approach. Because beautiful design should feel effortless—even when it’s built by hand.
👉 Considering a larger refresh? Check out our Bathroom Tub Renovation Guide for total transformation ideas.
Tools & Materials You’ll Need
Tape measure
Level
Stud finder
Pencil
Adjustable wrench
Power drill + screwdriver bits
Silicone caulk
Vanity unit (pre-assembled or flat-pack)
Faucet and sink hardware
Shut-off valves and supply lines (if updating plumbing)
✅ Shea’s Approach: Less is more. Keep your workspace clear, your tools neatly organized, and your finishes consistent.
Step 1: Turn Off Water and Prep the Space
Shut off water at supply valves
Use a utility knife to slice through caulking
Disconnect P-trap and water lines
Unscrew fasteners holding the old vanity
Clean and prep walls and floor
🎯 Pro Tip: This is a great time to repaint the space behind the old vanity—especially if you’re going for a modern walk-in shower upgrade at the same time.
Step 2: Measure and Mark for Installation
Locate wall studs with a stud finder
Measure vanity height and width
Lightly mark placement with pencil
Leave clearance for drawers and plumbing alignment
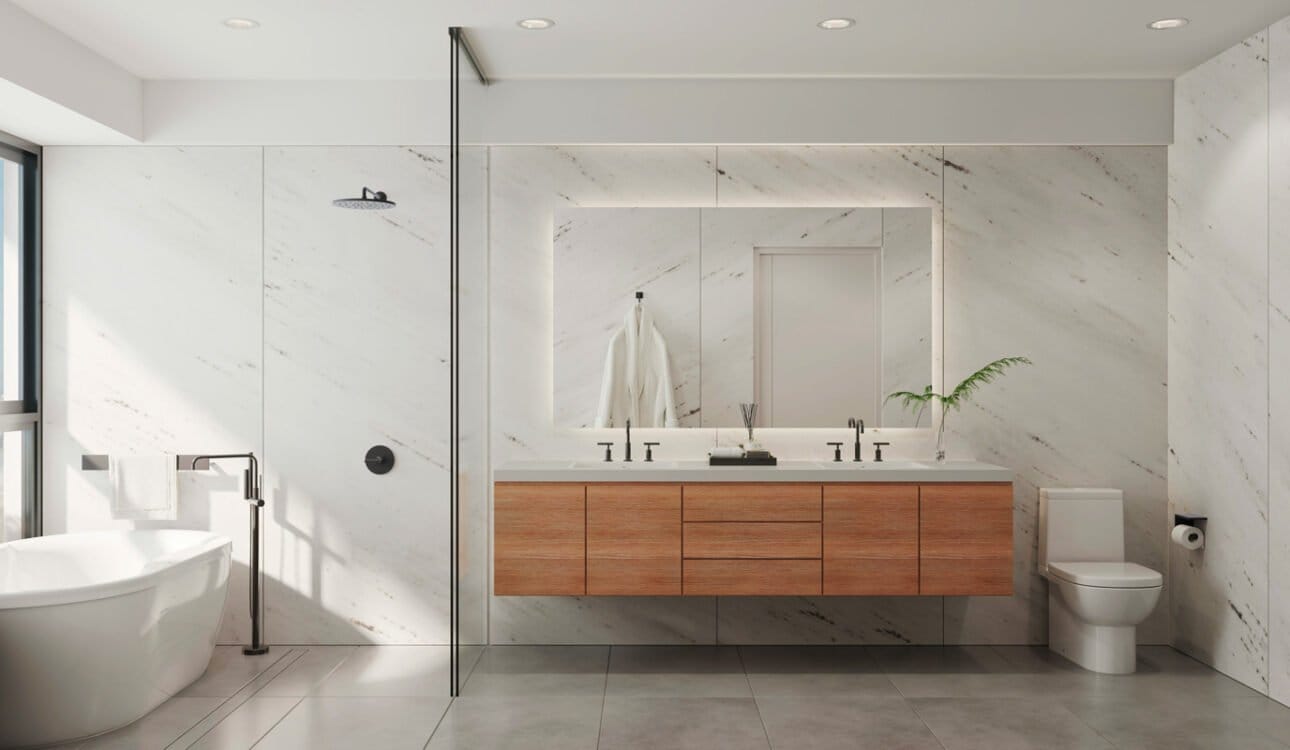
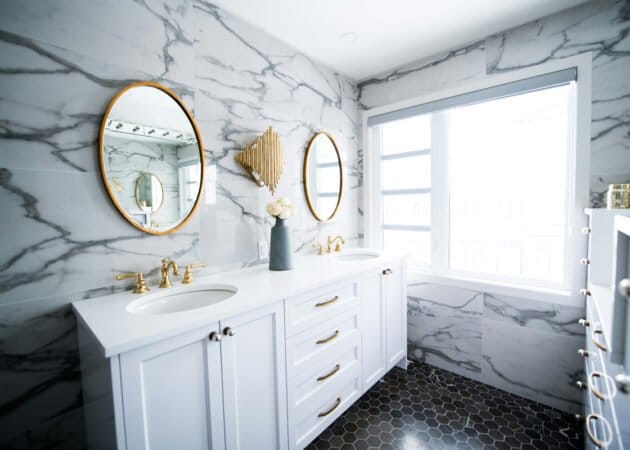
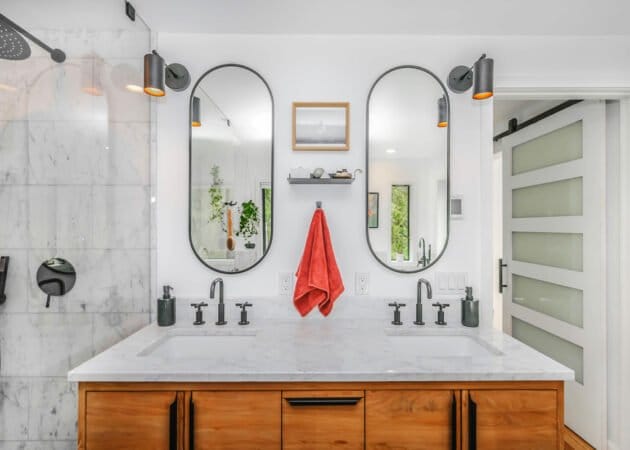
📏 Design Tip: A floating vanity makes a small bathroom feel open. Floor-mounted designs work beautifully in more traditional layouts.
Step 3: Level and Secure the Vanity Base
Place vanity and check for level
Shim base as needed
Drill pilot holes into studs
Fasten with long wood screws
Re-check level before final tightening
🧱 Minimalist Note: Hide your fasteners—visible clutter disrupts a seamless design.
Check Our Recent Projects
Step 4: Install the Countertop and Sink
Apply a bead of silicone caulk to the top edge
Gently lower countertop into place
Press to secure and wipe excess
Allow 24 hours to cure
For integrated tops, follow manufacturer’s instructions to align and seal properly.
Step 5: Reconnect Plumbing
Install faucet and drain before placing vessel sinks
Reconnect supply lines to hot and cold valves
Attach P-trap and test for leaks
Caulk around wall gaps or backsplash
💧 Shea’s Reminder: Consistency matters—match your faucet finish with other elements in the bathroom. Need help choosing? See our Guide to Bathroom Countertop Materials for inspiration.
Step 6: Finish with Intention
Touch up wall paint
Add drawer organizers
Style with intention:
Linen hand towel
Small ceramic vase
Matte black or brass soap dispenser
🌿 Design Detail: Less is more. Two beautiful objects are better than ten that fight for attention.
Final Thoughts: Style Is in the Precision
A bathroom vanity isn’t just about function—it’s about feeling. When installed thoughtfully, it sets the tone for the entire room. This is where mornings begin and evenings wind down. A clean, confident finish brings both ease and elegance to everyday routines.
Want more ideas? Browse our curated walk-in shower and vanity transformations for bathroom inspiration that’s both modern and livable.
✅ Call to Action:
Need help sourcing or installing the perfect bathroom vanity? Our design and renovation team specializes in custom installations with refined, clean aesthetics. Schedule your consultation today and bring intentional beauty to your bathroom—down to the last detail.
