et’s be honest — showers are great for getting clean fast, but sometimes you just need a soak. Maybe it’s after a long day, maybe it’s to entertain the kids, or maybe you just miss having a tub to unwind in.
Whatever the reason, it’s totally possible to turn your walk-in shower into a bathtub without wrecking your bathroom (or your budget).
Before you start swinging a sledgehammer like it’s demo day, here’s how to do it the smart, step-by-step way.
Step 1: Know Why You’re Doing It
This is the first thing I ask any homeowner: Why do you want to make this change?
If your shower’s still in good shape, there’s no need to rip it out unless there’s a bigger purpose. Maybe you’re:
Creating a more family-friendly space.
Upgrading for resale value (buyers still love bathtubs).
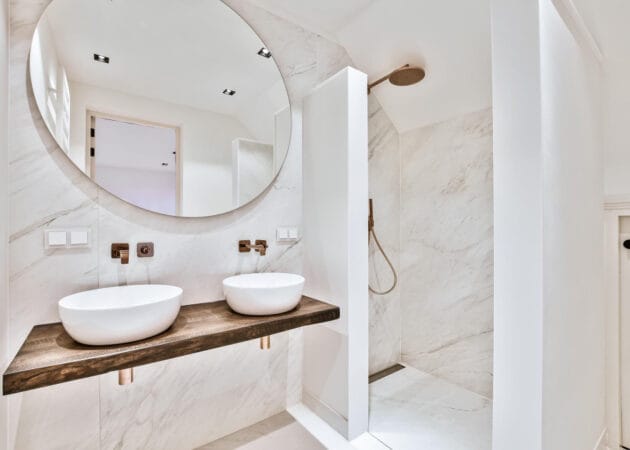
Designing your dream spa bathroom.
Whatever your reason, knowing your “why” will help you decide what kind of tub you need — and how big a project it’s going to be.
👉 Chip’s Tip: Don’t convert a shower just because Pinterest told you to. Do it because it fits your life.
Need help clarifying your goals? Start with a free consultation on our bathroom remodeling page — we’ll help you plan what truly works for your home.
Step 2: Measure Before You Dream
Before picking out clawfoot tubs or deep-soaking models, grab a tape measure. It’s not glamorous, but it’s crucial.
Measure the length, width, and depth of your current shower area.
Standard tubs are about 60 inches long, but shorter models (as small as 54″) can still work.
If space is tight, a corner or soaking tub might be your perfect fit.
👉 Pro Tip: Make sure your floor structure can handle the new weight — a filled tub can add several hundred pounds.
Step 3: Check Your Plumbing
Here’s where things get real. Converting a shower to a bathtub isn’t just about swapping fixtures — it means adjusting plumbing to fit the new design.
Your plumber may need to:
Move or extend the drain to match the tub layout.
Adjust water lines and faucet height.
Install an overflow drain for safety.
If that sounds complex, that’s because it is — but with the right pro, it’s usually a one- to two-day fix.
👉 Chip’s Warning: Don’t DIY the plumbing. Hidden leaks lead to expensive damage. Always hire a licensed pro — or talk to our team about installation services that guarantee peace of mind.
Step 4: Choose the Right Bathtub
This is the fun part. The tub you pick sets the tone for the whole space.
Popular options include:
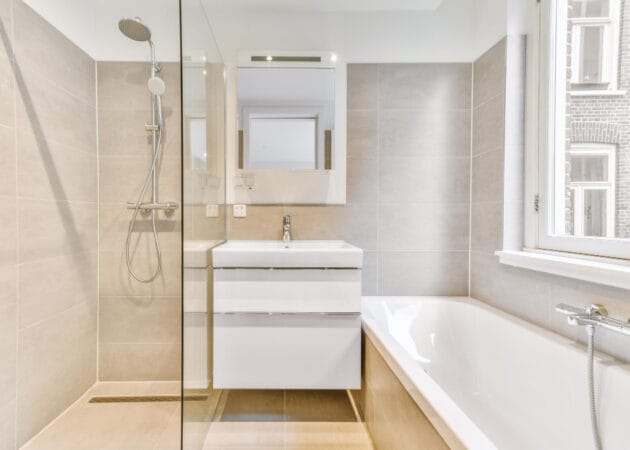
Alcove tubs: Fit neatly into three walls — perfect for most shower conversions.
Freestanding tubs: Ideal for open, luxury layouts.
Drop-in tubs: Built into a custom deck for a spa-like look.
Walk-in tubs: Great for accessibility and aging-in-place upgrades.
If you’re reusing your existing shower footprint, an alcove bathtub is typically the simplest and most cost-effective choice.
Check Our Recent Projects
Step 5: Consider Wall and Floor Finishes
Once your new tub’s in, you’ll need to finish the area around it. Most homeowners choose:
Tile surrounds – timeless and durable.
Acrylic panels – easy to clean and quick to install.
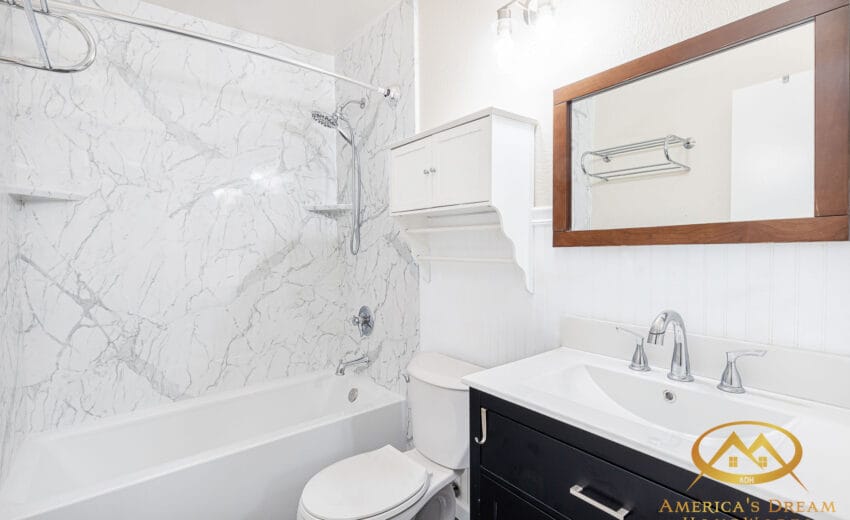
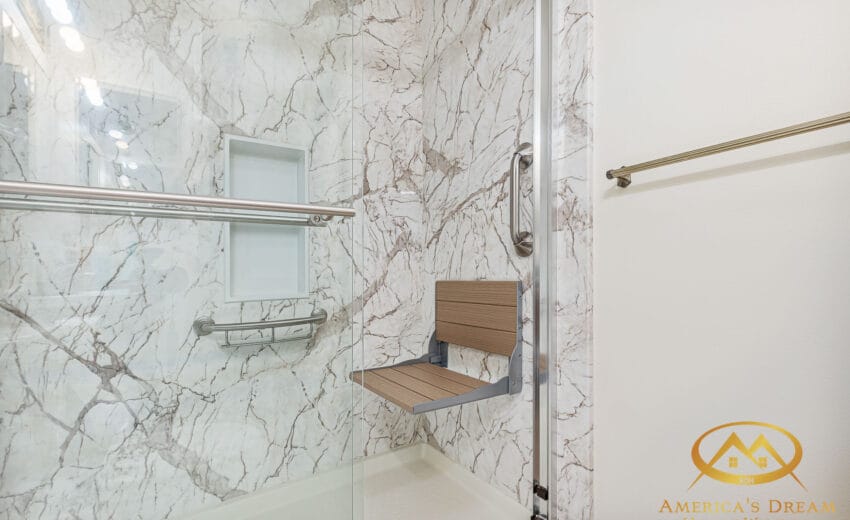
Stone-look Sentrel systems – elegant and low-maintenance.
If your old shower was tiled, you can often reuse the same layout with fresh, modern materials.
👉 Design Tip: Go lighter on wall color or texture — it keeps the bathroom feeling spacious, even with a larger fixture.
For inspiration, see how we use Sentrel wall systems to recreate the look of marble without the upkeep.
Step 6: Think About the Details
With structure and surfaces handled, now it’s time to personalize.
Add a handheld showerhead for flexibility.
Include a built-in niche or tub ledge for soaps, candles, and décor.
Upgrade fixtures — matte black, brushed brass, or chrome can instantly elevate the space.
Layer your lighting for a cozy, spa-like glow.
👉 Chip’s Rule: It’s not “just a bathtub.” It’s your new favorite retreat. Design it like it deserves attention.
Step 7: Hire the Right Pros
The right team makes all the difference. You’ll need:
A licensed plumber for water and drain work.
A bath remodel contractor for framing, finishing, and waterproofing.
Possibly an electrician for lighting or heated floors.
A professional remodeler can typically complete this conversion in 3–5 days, depending on complexity — transforming your daily routine without a long disruption.
If your shower walls are still structurally sound, you may even be able to refresh them with a shower liner instead of a full rebuild.
Bonus: Why It’s a Smart Investment
Data backs it up — homes with at least one bathtub sell faster and appeal to more buyers.
According to Zillow, homes featuring a full bath with a tub can increase resale appeal by up to 15%.
That means your bubble baths might actually pay you back later.
Final Thoughts
Converting a shower into a bathtub isn’t as daunting as it sounds — it just takes a plan, patience, and the right team.
It’s a smart move if you want to add comfort, versatility, and value to your home.
At America’s Dream HomeWorks, we’ve helped countless Sacramento homeowners make this exact upgrade. Whether you want a family-friendly alcove tub or a luxury freestanding centerpiece, we’ll handle everything — from plumbing to finishes — so you can simply soak and relax.
✨ Ready to make the switch? Schedule your consultation today and let’s turn your shower into the spa-worthy bathtub you’ve been dreaming of.
