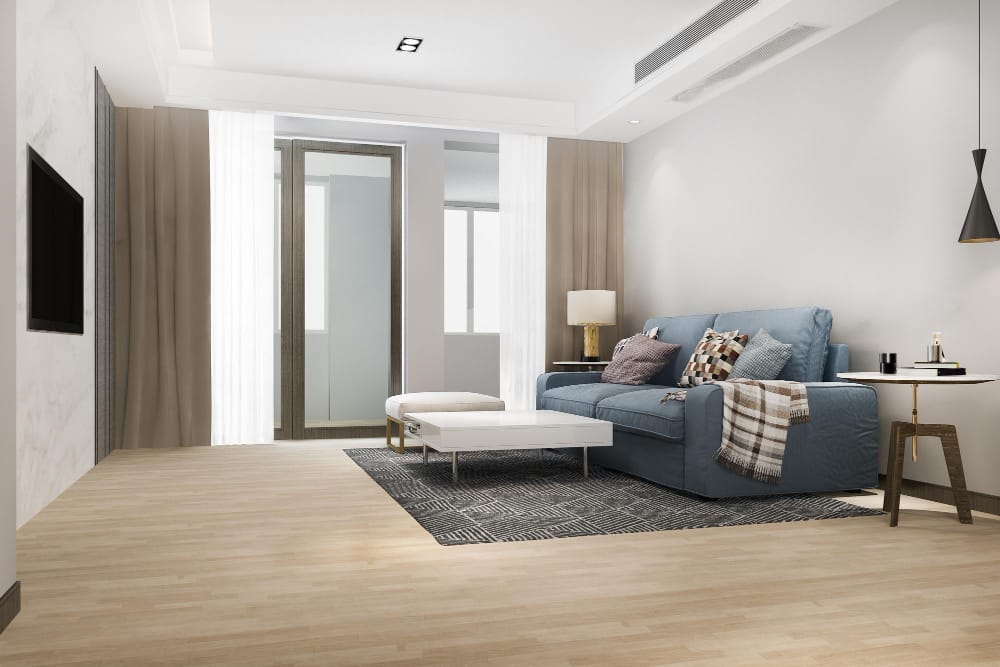
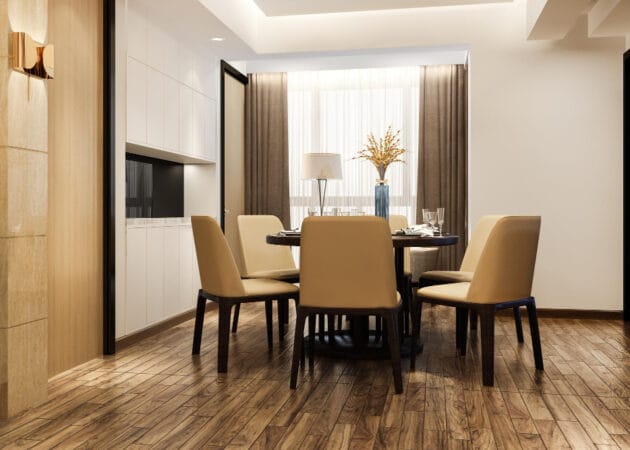
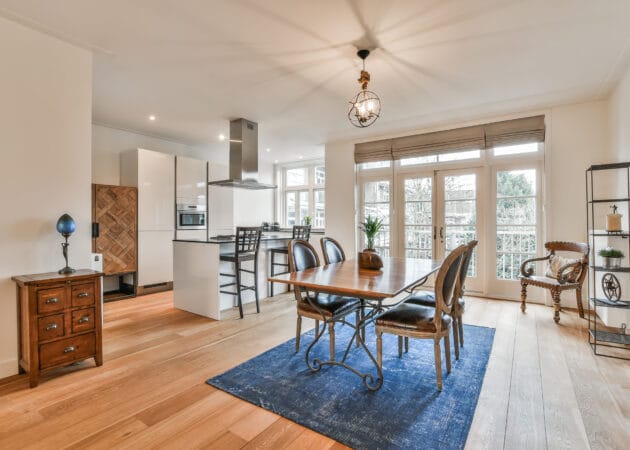
If there’s one upgrade that delivers both beauty and return on investment, it’s flooring. Specifically, vinyl plank flooring installation in Roseville CA has become a top choice among savvy homeowners and property investors alike. Why? It’s affordable, durable, and—most importantly—transformative. I’ve seen homes with tired, outdated floors skyrocket in appeal after a simple flooring swap. Whether you’re preparing to sell or just want to love your space again, this step-by-step guide will walk you through how to turn a dull room into a showstopper with vinyl plank flooring.
Step 1: Get Clear on the “Why”
Before you lift a finger, understand what you’re trying to achieve. Do you want your living room to feel brighter? Are you replacing old carpet for allergy reasons? Or are you preparing your home for the market?
👉 David’s Tip: Buyers love vinyl plank because it looks like hardwood but is more affordable and waterproof. It’s a win-win in today’s market.
Step 2: Measure and Prepare Your Space
Start by measuring the square footage of the area you’ll be working in. Add 10% to account for cuts and waste. Remove baseboards carefully, and make sure your subfloor is clean, dry, and level. Any bumps, glue, or debris will affect the final look.
👉 Inspiration: Imagine walking into your refreshed space—everything level, clean, and ready for your new floors to shine.
Step 3: Choose the Right Vinyl Plank
In Roseville CA, there are plenty of retailers that stock top-tier vinyl plank flooring in every shade and style—from rustic oak to sleek gray tones. Look for waterproof or water-resistant options, especially for kitchens, bathrooms, and basements.
👉 David’s Tip: Go for click-lock planks with a rigid core for easy installation and long-term durability.
💡 Want more options? Here’s everything you need to know about Luxury Vinyl Plank Floors.
Step 4: Acclimate the Flooring
Lay the unopened boxes of vinyl planks in the room where you’ll install them for at least 48 hours. This allows them to adjust to the room’s temperature and humidity—a step that ensures your flooring won’t warp or shift later.
Check Our Recent Projects
Step 5: Lay the First Row
Start along the longest wall. Use spacers between the planks and the wall to allow for expansion. Stagger the joints as you go—this not only looks better, it adds stability.
👉 Pro Tip: Mix planks from several boxes to vary color tones and give the floor a more natural look.
Step 6: Keep Going with Precision
Use a tapping block and rubber mallet to snugly fit planks together. A utility knife can trim the pieces to fit corners, edges, or around doorways. Work row by row, checking regularly for straight lines and gaps.
👉 Inspiration: With every row you complete, you’re one step closer to a home that feels brand new—without the cost of hardwood or tile.
💡 Compare with Laminate Flooring if you’re still weighing your options.
Step 7: Finish and Seal the Look
Once the floor is fully laid, reinstall the baseboards or add new ones for a fresh look. Use caulk to seal small gaps if needed. Then, give the space a gentle clean—and enjoy it!
💡 Still exploring? Here’s how to decide between Vinyl Laminate Flooring and other flooring types.
Bonus: Where to Buy Vinyl Plank Flooring in Roseville CA
Check out local suppliers like:
Floor & Decor (Roseville)
Lumber Liquidators
Home Depot Roseville
Local independent flooring shops with installation services
They often carry exclusive deals and offer delivery and installation bundles.
✅ Call to Action:
If you’re ready for a flooring upgrade, we can connect you with trusted vinyl plank flooring installation pros in Roseville CA. Whether you’re DIY-ing or want full-service help, we’re here to guide you toward beautiful, lasting results. Reach out today and transform your space with confidence.
