Key Takeaway
A bathroom remodel checklist follows six phases in order: define the room’s purpose, document and measure the existing space, set your budget with a 15-20% contingency, finalize the floor plan, secure permits and a written contract, then select and order materials before construction begins. Full renovations typically run 6 weeks to 3 months from planning through punch list. Skipping permit inspections or ordering materials after demolition starts are the two most common causes of costly delays.
A complete bathroom remodel checklist runs in this order: define what the room needs to do, document and measure the existing bathroom, set your budget, finalize the floor plan, verify permits and contractor credentials, lock down a written scope, then select and order materials. Only after that does construction begin: demolition, repairs, rough plumbing and electrical and ventilation, rough inspections, waterproofing, wallboard, finishes, fixtures, final inspection, and punch list. Nothing gets covered until it has been approved.
This is written for the homeowner who doesn’t want to discover a missed decision three days after demolition. It’s a project-control checklist for a bathroom renovation, not a shopping list, and a printable version is available at the end. Permit rules and local building codes vary by city and county, so verify specifics with your local building department before you break anything.
What a Bathroom Remodel Checklist Should Actually Do (And the 6 Phases It Follows)
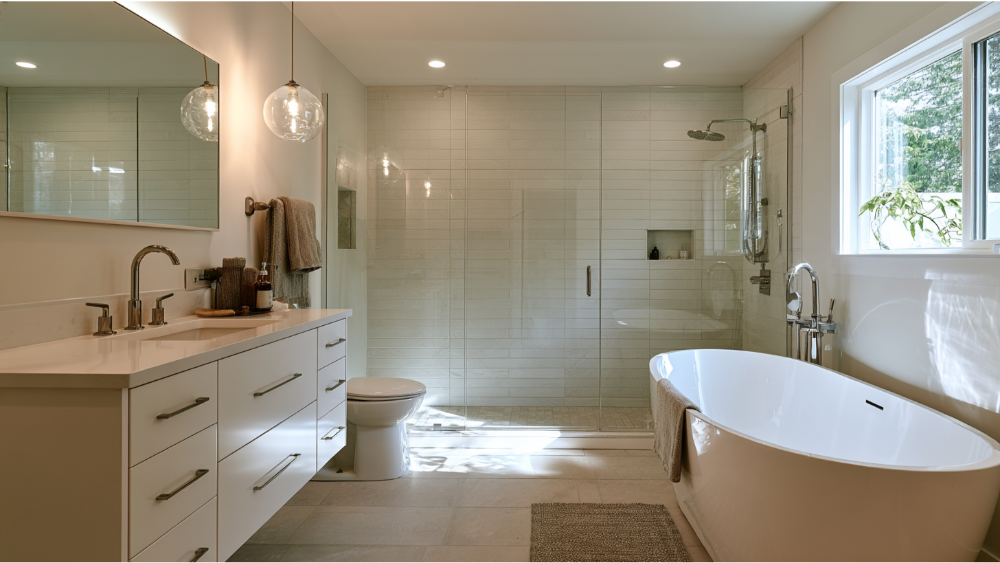
Most bathroom remodel checklists you’ll find online are inventory lists. Tub, toilet, vanity, tile, towel bar. Useful, but they don’t tell you what has to be decided, documented, permitted, and inspected before the next phase can start. That sequencing is where remodels go sideways.
The second thing a good bathroom remodel checklist does is separate two very different categories of work:
- Decisions you make: layout, fixtures, finishes, storage, budget priorities, how long you can live without that bathroom.
- Work a qualified team verifies: permit requirements, code compliance, load calculations, waterproofing assemblies, inspection sign-offs.
You own the first list. You should never be left holding the second one alone. Decisions made on paper are cheap. The same decisions made after the walls are open are where costly mistakes come from.
| Phase | What it settles |
|---|---|
| 1. Plan & Define | Who uses the room and what it must do |
| 2. Budget & Scope | Investment range, must-haves, contingency |
| 3. Permits, License & Contract | Legal and financial protection |
| 4. Design Plan & Technical Systems | Floor plan, plumbing, electrical, ventilation, waterproofing |
| 5. Materials & Ordering | Every product confirmed and on site |
| 6. Build, Inspect & Close Out | Construction, sign-offs, punch list, documents |
Each phase below ends in checkbox form so you can work through it with a pen.
Phase 1 Checklist: What Does Your New Bathroom Need to Do?
You use this room before you’re awake and again before you sleep. Design it around that reality, not around a photo. The new space should make your actual mornings easier, not just photograph well. A dream bathroom that ignores how your household moves through the day stops feeling like a dream by week two.
- Who uses it daily, and how many people at the same time?
- Is this the only full bathroom in the house?
- Kids now, teenagers later, overnight guests, or aging-in-place needs?
- What are your storage needs: towels, cleaning supplies, everyday items, backstock?
- Is the lighting flat or unflattering? Is there any natural light to protect?
- Does the room stay humid, fog the mirror, or smell musty?
- Tub, shower, both, or a tub-to-shower conversion?
- How much cleaning and maintenance are you honestly willing to do?
- Which three items are must-haves, and which are upgrades you’d trade away?
One decision to make right now, even if you’re 40 years old and healthy: grab bars or in-wall blocking for future grab bars. Adding solid blocking while the walls are open costs almost nothing. Adding it later means opening tile.
Phase 2 Checklist: Document and Measure Your Current Bathroom
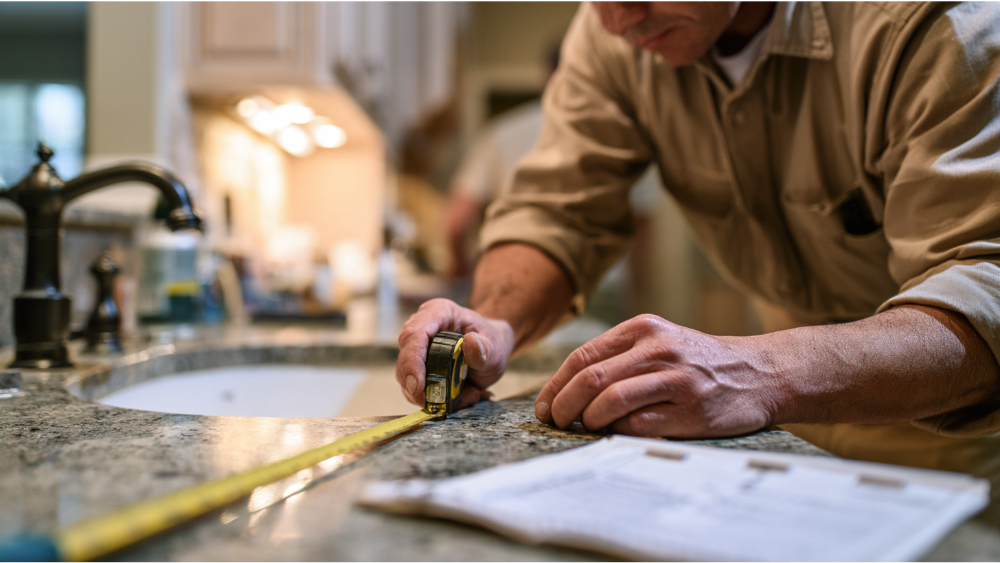
Nearly every layout problem we get called about traces back to a measurement nobody double-checked. Spend an hour with a tape measure and your phone.
- Wall-to-wall dimensions, ceiling height, window and door sizes, and which way the door swings.
- Walking clearances in front of the toilet, vanity, and shower.
- Existing fixtures and drain locations, measured from a fixed wall.
- Every outlet, switch, and light fixture.
- The bathroom fan, and where the duct actually terminates (go look).
- Water shutoff locations, including the main.
- Condition of the existing tile floor, including cracked grout and any tiles that sound hollow when tapped.
- Finished flooring height in the adjacent room, since a new tile floor can change the transition at the doorway.
- Photos of all four bathroom walls plus any access panels.
- Total square footage. Most residential bathrooms fall between 40 and 150 square feet, which is why inches matter here more than in any other room.
- The year the home was built.
While you’re in there, look for trouble: water staining on the ceiling below or around the tub, a soft or spongy bathroom floor near the toilet, failed or missing grout, a musty smell that never clears, and corroded shutoff valves. Flag all of it now. Hidden conditions found before the contract are budget items. Found after demolition, they’re change orders.
Should You Keep the Existing Bathroom Layout or Move the Plumbing?
Decide this early, because it drives permits, schedule, trades, and complexity more than any finish selection will. Every bathroom remodel checklist should force this decision before anything else gets priced.
Keeping the toilet, tub or shower drain, and vanity in their current locations keeps the project in the faster, simpler tier. The supply lines and drains stay put, fewer trades are involved, and there are fewer inspection points. Plumbing changes that relocate a drain or a vent mean opening floors or walls, rerouting within the framing, and often engaging both plumbing and structural review. Plumbing work typically represents something like 10% to 15% of a full remodel’s scope, and moving it is one of the biggest single swings in a bathroom budget.
That doesn’t mean never move it. Sometimes the layout is genuinely bad and shifting the vanity three feet transforms the room. It means make that call on a dimensioned floor plan with the new layout drawn to scale, well before demolition begins. Layout changes decided mid-project are the most expensive kind.
How Do You Set a Bathroom Remodel Budget Without Guessing?

National cost averages don’t price your bathroom renovation. They average a condo powder room in one state against a primary suite in another. We don’t publish ranges for that reason: a number worth planning around comes from someone standing in your actual room with your actual selections.
- Decide the total you’re genuinely comfortable investing, before you fall in love with a fixture.
- Rank must-haves against upgrades so you know what flexes if something behind the wall surprises you.
- Hold back a documented contingency. Commonly 15% to 20% of the entire project, set aside specifically for hidden conditions.
- Settle financing before you order materials, not after deposits are down.
- Get written, itemized, project-specific estimates and compare them on matching scope. An estimate that’s lower because it excludes the shower glass isn’t lower.
- Expect a payment schedule tied to work actually completed.
A remodeler worth hiring will never pressure you to sign before you’ve compared bids. If someone does, that tells you something more useful than the number on the page.
Permits, Licensing, and Insurance: What to Verify Before Construction Begins
Most bathroom remodels beyond a cosmetic refresh require permits. The specific triggers vary by jurisdiction, but the decisions that commonly bring a project under review are consistent: moving plumbing, adding or altering electrical circuits, changing walls, replacing wet-area assemblies, altering ventilation, and installing new shower or tub enclosures. Swapping a faucet or repainting usually doesn’t. Some cities also use a dollar-value threshold that pulls smaller work into review, which is one more reason the only reliable answer comes from your own building department.
- Put in writing who pulls the permits, and who pays the fees.
- Ask which inspections are expected and roughly when they land in the schedule.
- Verify the contractor’s license status with your state licensing board. A number printed in an ad proves nothing about whether it’s active.
- Request and verify liability and workers’ compensation information. If a contractor has employees and no coverage, an injury on your property can become your problem.
- Confirm who physically performs the plumbing and electrical work, and that they’re qualified to do it.
- Confirm site protection, dust control, and debris removal responsibility.
- If the home predates 1978, ask for the lead-safe plan in writing.
That last point has teeth. The EPA’s Renovation, Repair and Painting Rule applies to paid renovation work disturbing painted surfaces in most pre-1978 housing, and covered work must be done by a certified firm using lead-safe practices. The minor-repair exemption is narrow, roughly 6 square feet of painted surface per interior room or 20 square feet outside, and demolition of painted surfaces and window replacement stay covered regardless of size. America’s Dream HomeWorks is an EPA Lead-Safe Certified firm, which is worth confirming with any contractor you’re considering for an older home.
For California Homeowners: Contract, Permit, and Cancellation Rules
These rules are California-specific. Don’t apply them elsewhere. Per the Contractors State License Board (CSLB):
- A written home improvement contract is required for projects over $500.
- The contract must identify the contractor and license number, describe the products, materials, and work in detail, state who obtains permits, and include a completion date and payment schedule.
- The down payment generally cannot exceed $1,000 or 10% of the contract amount, whichever is less.
- Progress payments cannot exceed the value of work performed or materials delivered, with narrow exceptions.
- Any change in scope or price belongs in a signed written change order.
- Qualifying situations carry a three-day cancellation right, and five days for homeowners age 65 and older. Eligibility depends on the circumstances.
On the code side, the 2025 California Building Standards Code (Title 24) took effect January 1, 2026. Local cities, including Concord, list bathroom remodels and shower or tub enclosures as permit-required work, so confirm current submittal and inspection requirements with the city permit center before you plan a schedule around them. Our CSLB License is #853669.
What Belongs in the Written Scope of Work
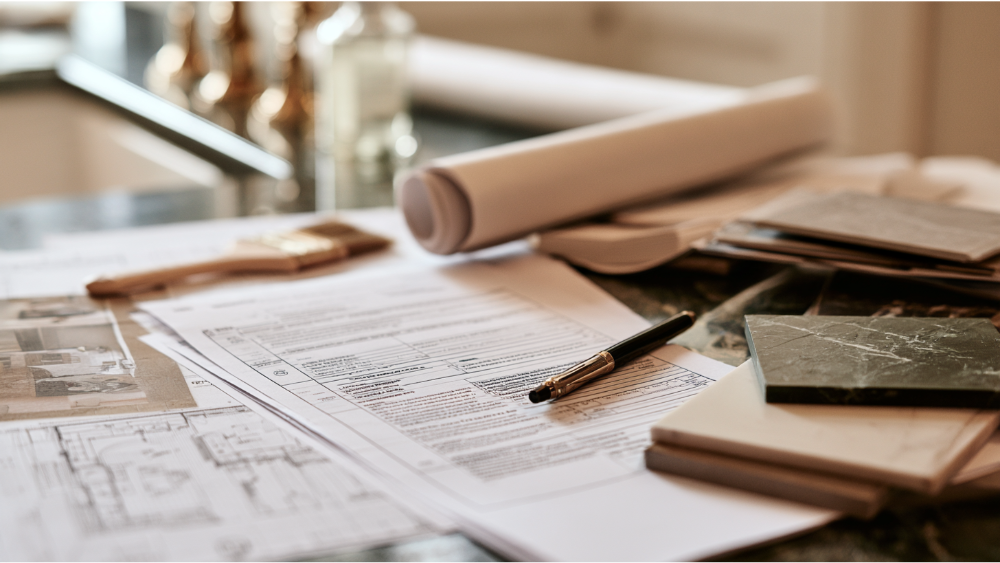
The scope document is what protects you when memories differ six weeks into a bathroom renovation. Vague scopes are where disputes live.
- Drawings with dimensions, not sketches.
- Product brand, model number, finish, and quantity for every single selection, plumbing fixtures included.
- What is included and what is explicitly excluded.
- Permit responsibility and fees.
- Start date, milestones, and expected completion.
- Payment schedule tied to verifiable progress.
- The written procedure for what happens when hidden conditions are found.
- Change orders in writing, signed, before the work happens.
- Daily cleanup and debris removal.
- All warranty terms in writing.
Labor warranties in this trade commonly run one to two years. Ours is a 24-month labor warranty on all remodels, and DreamLine Custom Cabinetry carries a limited lifetime warranty. Whoever you hire, get the duration and what it covers on paper.
Finalize the Design Plan and Floor Plan
This is where the dream bathroom stops being a mood and becomes dimensions. A successful remodel is decided in the planning phase, on paper, long before install day.
Layout, Clearances, and Door Swings
- Fixture spacing and clearance in front of the toilet and vanity.
- Entry door swing checked against the vanity, the toilet, and anyone standing at the sink.
- Shower door swing checked against the opposing wall and the vanity edge.
- Vanity drawer clearance, especially in narrow rooms.
- Freestanding tub filler location, plus whether you can actually reach behind and clean around the tub.
- If a steam shower is on the table: enclosure requirements, sloped ceiling, drainage, and a place to house the equipment.
Lighting Layers, Mirrors, and the Medicine Cabinet
Plan three layers: ambient light overhead, task light at the mirror where you actually see your face, and accent lighting in a niche or alcove for depth. One ceiling fixture in the center of the room will backlight you every morning.
Decide mirror versus medicine cabinet versus lighted mirror before walls close. A recessed cabinet changes framing, and a lighted mirror changes wiring. Protect the natural light you have, and plan privacy treatment for any window near a wet area.
Storage, Cabinetry, and Accessibility
- Vanity storage versus a linen wall or tall cabinet.
- Soft-close hinges and drawer glides, a reliable marker of cabinet quality.
- Toilet paper holder, towel bar, and hook locations marked on the plan, not chosen on install day.
- Grab bars or in-wall blocking at the shower and the toilet area.
- Curbless shower entry, a built-in seat, a handheld shower, and non-slip shower floors if accessibility matters now or later.
In a small room, storage space has to come from the walls, because the floor is already committed. Our DreamLine Custom Cabinetry is built in America and sized to the room rather than the other way around, which matters most in bathrooms where three inches decides whether a drawer opens.
The Technical Checklist: Plumbing, Electrical Systems, Ventilation, and Waterproofing
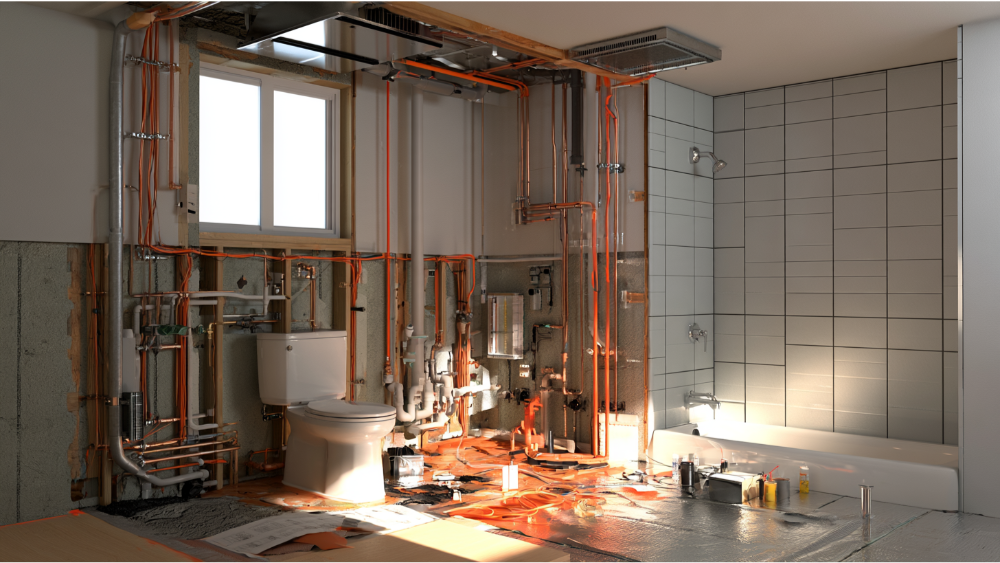
These are decisions to make before walls are closed. The final engineering belongs to licensed professionals and your local inspector, but the choices below are yours, and making them late is expensive.
Plumbing, Shower Valves, and Shower Fixtures
- Valve type and how many functions it controls (rain head, handheld, body sprays each add demand).
- Rough-in compatibility between the valve and the shower fixtures or tub system you selected.
- Accessible shutoffs at the toilet and vanity.
- Condition of existing supply lines and drains. If they’re old, replace them while they’re exposed.
- Whether the old fixtures are coming out entirely or being reused, settled before the crew arrives.
- Toilet rough-in dimension confirmed against the model you’re buying.
Electrical Systems and Outlets
GFCI protection is required for bathroom receptacles under the National Electrical Code. The NEC also calls for at least one 120-volt, 20-amp branch circuit serving bathroom receptacles, and a receptacle within 3 feet of the outside edge of the basin, with placement restricted in tub and shower zones. Your electrician and inspector finalize all of it.
What you decide: hair tools and where you use them, a bidet seat, heated flooring, a lighted mirror, fan and light control locations, and in-shower lighting. Every one of those affects load and wiring.
Ventilation and the Exhaust Fan
Proper ventilation is the most commonly shortchanged system in a bathroom renovation, and it is the one that quietly decides whether your paint, grout, and cabinetry survive. Rooms with tubs and showers require mechanical ventilation. A window is not a substitute for it. The widely used figures are roughly 50 CFM intermittent or 20 CFM continuous, and the current California Energy Code lists 20 CFM for continuously operating bathroom exhaust. Confirm exact sizing, controls, and duct routing against current code and local plan review rather than an old handout.
Exhaust has to terminate outdoors. Never into an attic, a wall cavity, or a crawlspace. Also check the exhaust fan’s sone rating and the total duct run, because an undersized fan at the end of a long duct moves almost nothing.
Waterproofing, Shower Pan, and Vapor Barrier
This is the item most checklists skip and the one that causes the most expensive failures. Tile is not waterproofing.
- An approved waterproof membrane or assembly across the entire wet zone.
- A correctly sloped shower pan with the right drain type for the assembly.
- Detailing at the curb, corners, and any niche (niches leak more than fields do).
- Appropriate backer board or vapor control at bathroom walls.
- Subfloor condition and deflection checked before tile, especially with large-format floor tile or natural stone.
- A pan flood test before tile installation begins.
Safety Glazing for Shower Doors and Nearby Windows
Glazing that encloses or faces tubs and showers is treated as a hazardous location when the bottom exposed edge sits less than 60 inches above the standing surface, so safety glazing is required there. Ask for the product certification, not just the dimensions. Custom shower doors should be field measured after the tile is set.
Material and Fixture Selection Checklist
- Tub or shower system
- Shower valves and shower fixtures
- Toilet
- Vanity and sink
- Countertop material, quartz or natural stone
- Cabinets and additional storage
- Floor tile, SPC, or luxury vinyl plank
- Tub surround and wet-area wall material
- Wall treatments outside the wet area, whether paint, wallpaper, or wainscot
- Shower glass
- Lighting fixtures
- Mirror or medicine cabinet
- Exhaust fan and its controls
- Hardware: towel bars, toilet paper holder, hooks, robe hook
- Paint, grout, and caulk colors
- Trim or crown moulding
- Window treatments
Choose moisture resistant materials first and looks second, and you rarely regret it. Porcelain tile absorbs less than 0.5% water. SPC flooring is fully waterproof and dimensionally stable, which helps in a room that swings from steamy to dry twice a day. Quartz is non-porous and needs no sealing, while natural stone generally needs periodic sealing to stay looking the way it did on day one. Small-format mosaic or textured porcelain earns its keep on shower floors, where the extra grout lines add grip underfoot. Order 10% to 15% extra floor tile so your attic stock comes from the same lot. Pick one metal finish family and hold to it, because brushed nickel at the faucet and chrome at the shower trim reads as a mistake even when it wasn’t one. Water usage is regulated too: California maximums are 1.28 gallons per flush for toilets, 1.2 gallons per minute for private bathroom lavatory faucets, and 1.8 gallons per minute for showerheads. Check current standards before you order, since efficiency rules do get updated.
If you can’t picture it yet, that’s normal. Build a mood board, settle on a color palette, try our Bathroom Visualizer Tool, and then come see the finalists together under realistic lighting in our 20,000-square-foot showroom, the largest showroom of its kind in the region. Tile that looks warm on a screen can read gray next to your quartz.
Order Materials Before Construction Begins
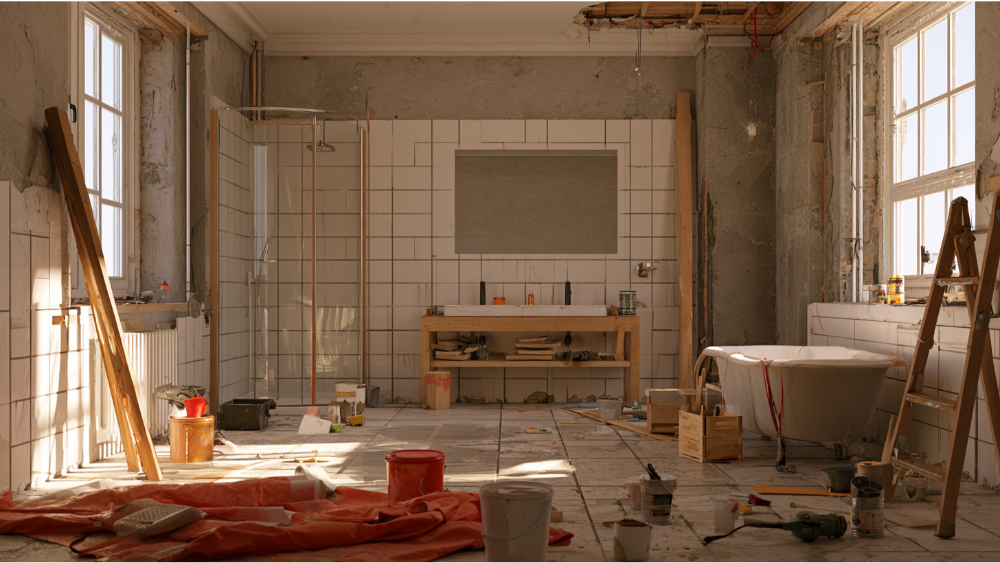
Demolition should start after the boxes arrive, not before. A bathroom sitting open waiting on a new vanity is the most common avoidable delay in a bathroom renovation.
- Confirm dimensions and rough-in compatibility against the approved plan.
- Confirm lead times. Special orders commonly run 4 to 6 weeks, and custom items longer.
- Inspect every delivery for damage before you sign for it.
- Store everything dry, flat, and secure.
- Do not order shower glass or templated countertops before field measurement.
- Verify critical-path items are on site or firmly scheduled before the build schedule locks.
Handling procurement, cabinetry, and stone fabrication in-house is how we remove an entire category of delay: nobody is waiting on a third party’s shipping department to decide when your shower gets finished.
Bathroom Remodel Order of Operations: The Correct Sequence
- Permits issued and approved plans in hand.
- Site protection, pathway coverings, dust barriers, and utility shutoffs.
- Controlled demolition, typically a day or two for a standard bathroom.
- Framing, subfloor repair, and correction of any hidden damage found.
- Rough plumbing, electrical, and ventilation.
- Rough inspections.
- Shower pan and waterproofing assembly.
- Waterproofing or pan flood test, and inspection where required.
- Wallboard, backer board, and surface preparation.
- Tile, flooring, and paint in the sequence your project calls for.
- Vanity, cabinetry, and countertop installation.
- Plumbing and electrical trim-out.
- Toilet, shower door, mirrors, hardware, and accessories.
- Testing, caulking, final inspection, cleaning, and punch list.
Two Points Where You Must Stop and Get Approval
STOP #1, after rough plumbing, electrical, and ventilation, before any wallboard goes up. Everything inside the wall has to be visible for the inspector.
STOP #2, after the waterproofing and shower pan assembly, before tile installation. A pan that hasn’t been tested is a pan you’re trusting on faith.
The logic is simple: once it’s covered, verifying it means tearing it back out. No schedule pressure is worth skipping these.
How Long Does a Bathroom Remodel Take?
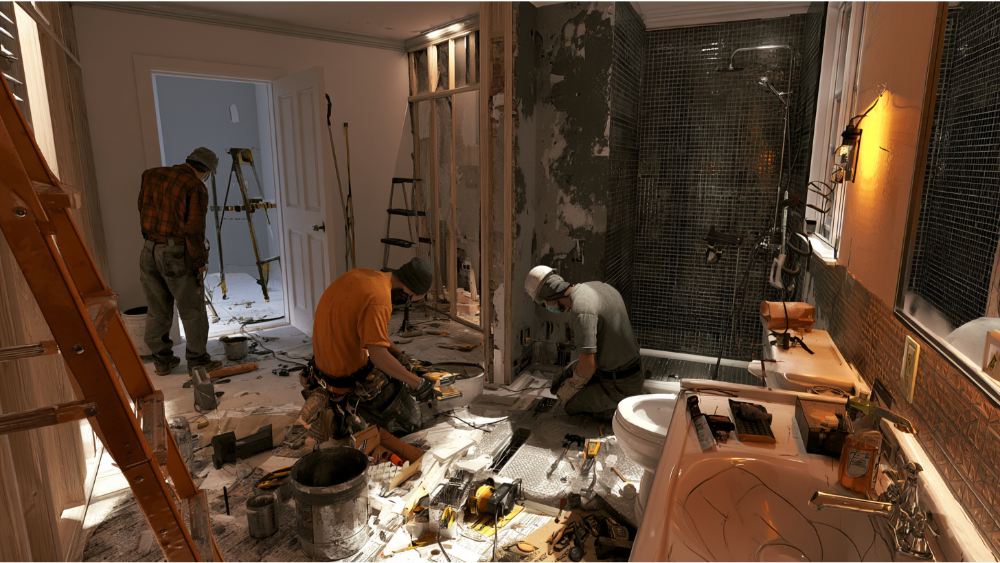
Nationally, most full bathroom renovations run roughly 6 weeks to 3 months from planning through punch list, with active construction commonly landing in the 2 to 5 week range. The rest is the planning phase: design, selections, permitting, and material lead times, which is why the calendar starts long before anyone swings a hammer.
Five things move that number: whether plumbing relocates, permit and inspection timing in your jurisdiction, material availability, hidden conditions behind the walls, and how well the trades are coordinated. We won’t promise a fixed completion window before we’ve seen your bathroom. We build a project-specific schedule once permitting is settled, and then we hold ourselves to it.
Living Through the Bathroom Renovation
You still have to brush your teeth. Sort this out before day one.
- Which bathroom the household uses, and how the morning rotation works.
- Arrangements for kids and pets, especially around open doorways and tools.
- Agreed work hours and how the crew gets access.
- Dust barriers and floor protection along every pathway, including the adjacent room the crew walks through.
- Advance notice before any water shutoff.
- Where materials get staged (garage, spare room, driveway).
- Daily cleanup expectations, in writing.
- One point of contact and how you’ll get updates.
One accountable team means one phone number. That alone lowers the temperature of the whole experience.
Final Walkthrough and Punch List Checklist
- Run hot and cold water at every fixture, and check temperature and pressure.
- Test every drain, then look under the sink for leaks after a few minutes of use.
- Confirm the toilet is stable, level, and flushing correctly.
- Test GFCI protection, all lighting, and the exhaust fan and its controls.
- Inspect grout lines, caulk joints, tile alignment, shower door operation, cabinetry, and hardware.
- Check that the bathroom floor drains and transitions sit flush, with no lippage at the doorway.
- Open every door and drawer to check clearance against fixtures.
- Write the punch list, and get corrections completed before final payment.
- Obtain final inspection sign-off.
- Collect warranties, manuals, and lien releases where applicable.
- Record paint, grout, and tile product information, and keep spare tile from the same lot.
- Photograph the finished bathroom from every angle.
- Update your homeowners insurance records. The California Department of Insurance advises telling your agent or insurance company in writing about improvements that could change your home’s replacement cost.
Why One Accountable Team Matters More Than Any Single Checklist Item
A bathroom renovation has dozens of handoffs. When the designer, the supplier, the fabricator, and the installer are four separate companies, the dimensions fall between them, and so does the responsibility. The countertop doesn’t fit the cabinet, and you spend a week on the phone finding out whose fault it is while your bathroom sits open.
We built our model to close that gap. America’s Dream HomeWorks has been family-owned since 2001, and we handle design, permitting, material procurement, in-house cabinetry and stone fabrication, and installation under one roof. More than 19,000 homeowners have trusted us with a project. CSLB License #853669. EPA Lead-Safe Certified. A+ BBB accredited. A 24-month labor warranty on every remodel.
We’ll never send you looking for another contractor to finish what we started.
Frequently Asked Questions
What is the correct order to remodel a bathroom?
Plan and measure, set the budget, secure permits and a written contract, then order materials. Construction follows this sequence: demolition, structural and subfloor repairs, rough plumbing and electrical and ventilation, rough inspection, waterproofing and pan test, wallboard, tile and paint, cabinetry and countertop, trim-out, fixtures and shower glass, then final inspection and punch list.
What should you not do in a bathroom remodel?
Don’t start demolition before selections and permits are settled. Don’t skip or undersize ventilation, and never vent the exhaust fan into an attic or wall cavity. Don’t tile over inadequate waterproofing, change the floor plan without a written change order, order shower glass or countertops before field measurement, leave yourself no contingency, or let rough work get covered before inspection.
Is a small budget enough for a bathroom remodel?
It depends entirely on which tier you’re in. A cosmetic refresh (paint, fixtures, mirror, hardware, sometimes flooring) sits at the low end. Replacing the tub, shower, and vanity in their existing locations sits in the middle. Moving plumbing or walls is the top tier. Scope, fixture selections, and whether plumbing moves drive the number more than square footage does. We offer flexible financing options, and a free estimate will give you a real figure instead of a guess.
Do I need a permit for a bathroom remodel?
Usually yes for anything beyond cosmetic. Plumbing relocation, new circuits, wall changes, new shower or tub enclosures, and ventilation changes commonly require permits and inspections, while paint and hardware swaps typically don’t. Thresholds vary by city and county, so confirm with your local building department. In California, the 2025 Title 24 code cycle took effect January 1, 2026, and many cities list bathroom remodels as permit-required work.
Get Your Free Printable Bathroom Remodel Checklist, and a Plan Built Around Your Dream Bathroom
Download the printable bathroom remodel checklist and bring it to your next appointment. When you’re ready for a real number instead of a national average, schedule a free consultation, call (916) 701-9660, or visit our showroom at 7115 Watt Ave, Suite #100 in North Highlands to compare selections in person. For Concord and greater Sacramento homeowners, we handle bathroom design, permitting, and installation in-house.