Key Takeaway
The best kitchen remodel layouts start with four core perimeter shapes: single wall, galley, L-shaped, and U-shaped. Islands and peninsulas modify these shapes but are not layouts on their own. Work aisles need at least 42 inches for one cook and 48 inches for multiple cooks. Measure your fixed dimensions first, because they eliminate layouts before any design decision is made.
The best kitchen layout is the one that fits your room’s fixed dimensions while creating clear paths for cooking, cleanup, storage, and household traffic flow. It is not automatically the one with the biggest kitchen island. Every good plan starts from four core perimeter shapes: single wall, galley, L shaped, and U shaped. Islands and peninsulas are additions that modify those kitchen floor plans, not layouts of their own.
If you are in the early planning stage and want to narrow your options before you sit down with a designer, this guide walks you through how to do it. We’ll help you rule out the layouts that can’t fit, then find the one that supports how your family actually cooks and gathers. A kitchen layout should be tested on paper before anyone swings a hammer, and that’s exactly how we start every project.
Measure Your Room Before You Fall in Love With a Layout

Before any shape makes sense, you need to know what you’re working with. The fixed conditions of your room eliminate certain kitchen floor plans on their own, and knowing them early saves you from falling for a plan that was never going to work.
Start with these:
- Walls, ceiling height, doors, windows, and any open passages into the room
- The current locations of plumbing, gas, electrical, and ventilation
- Appliance dimensions and how far each door swings open
- Adjacent routes to the dining or living room, the garage, and outdoor spaces
Pay close attention to your windows. Natural light shapes where the sink wants to go and whether tall cabinets would block a view or darken a corner. An accurate measure is where our in-house design-build team begins, because every later decision depends on it. Getting the numbers right first means nothing surprises you after demolition.
Who Cooks, Who Gathers, and How Traffic Moves
Before you pick a shape, map the people. How many cooks work in the room at once? Where do groceries come in? Where do the kids reach for a snack, and where do guests end up standing when you are entertaining guests? These answers matter as much as the walls.
One rule holds across every layout: a major household route should not cut through your primary work area. If people walk from the garage to the living room straight past the stove, the cook never gets a clear run. Get the smooth traffic flow right and the kitchen becomes the easy heart of family meals and gatherings instead of a bottleneck everyone squeezes through.
Kitchen Floor Plans at a Glance

Here’s the quick-scan view. Think of the four perimeter shapes as your foundation, with a kitchen island or peninsula layered on when the room allows. The table below gives you a fast read on each one before you dig into the detail.
| Layout | Best for | Main advantage | Main limitation | Typical traffic issue | Island/peninsula fit |
|---|---|---|---|---|---|
| Single wall | Narrow rooms, studios, open concept condos | Smallest footprint | Limited prep and storage | Little, if room is open | Island adds a second run |
| Galley | Narrow spaces, one serious cook | Highly efficient workflow | Can feel tight | Through-traffic turns it into a hallway | Usually no room for either |
| L shaped | Open concept living | Flexible, sociable | Dead corner storage | Few, with good placement | Strong island potential |
| U shaped | Serious cooks wanting storage | Maximum counter and storage | Can feel enclosed | Few | Island only with wide aisles |
| G shaped | Larger rooms, high-storage needs | Most counter and storage | Risks feeling closed in | Few | Built-in peninsula |
One Wall (Single Wall) Kitchen Layout
The single wall kitchen layout runs everything along one wall. It’s the natural fit for narrow rooms, studios, and open concept condos where the kitchen shares space with adjacent living spaces.
A typical sequence places the refrigerator at one end, the sink in the middle, and the cooktop at the other end so prep flows in a line. The honest limitation of one wall kitchens is counter space and storage. With only one run of kitchen cabinets to work with, you give up the continuous surface a cook usually wants. Compact and built in appliances help reclaim both counter and floor footage. When the room is open enough, adding a large island across from the one wall creates a true second work run, which turns a cramped single wall kitchen into something that functions like a galley. Even one wall kitchen layouts can serve a busy family when the extra space is planned well.
Galley Kitchen Layout
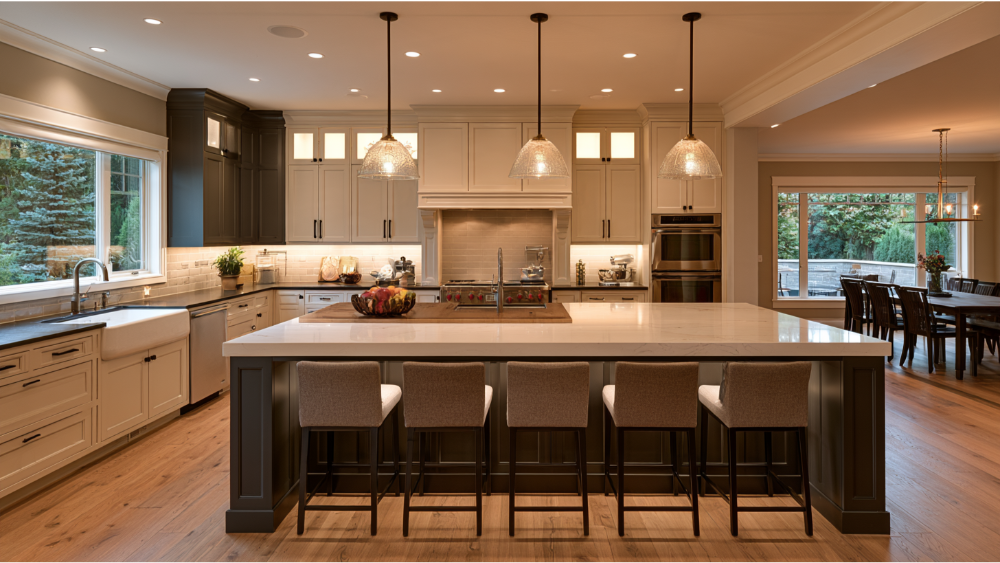
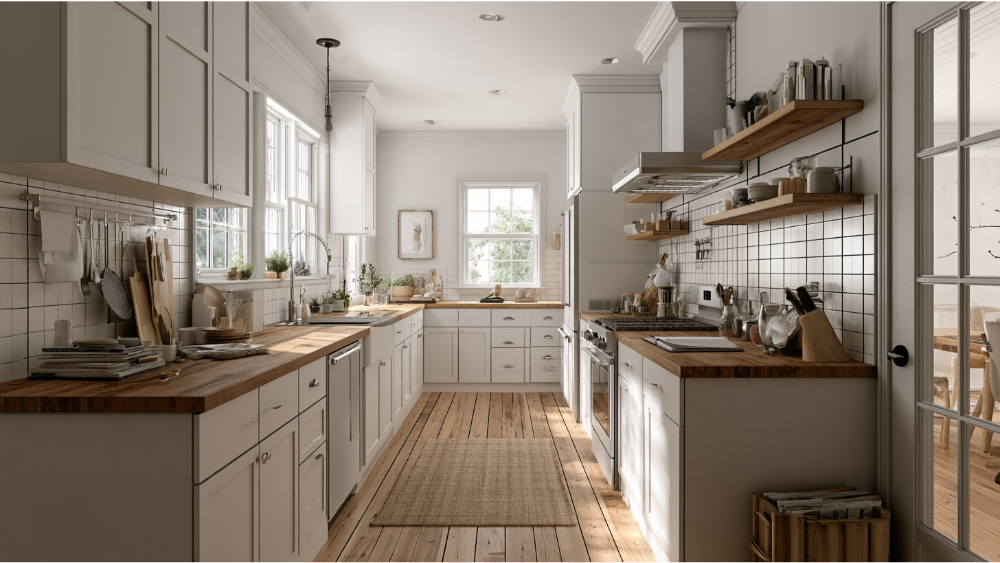
Two parallel walls facing each other, with a work aisle down the middle. Pound for pound, the galley kitchen is one of the most efficient kitchen floor plans you can build, which is why restaurant kitchens use it. Everything sits within a step or two, which gives you an efficient work triangle without much effort.
For one cook, it’s hard to beat. For multiple cooks, a galley kitchen layout works only if the aisle is wide enough that two people aren’t colliding. The biggest risk is through-traffic. If both ends are open, the kitchen becomes a hallway and the cook gets interrupted constantly. Watch appliance conflicts too, since a dishwasher and an oven across from each other can block the aisle when both open. A common move is to group the sink, dishwasher, and cooktop on one wall and mount an over-the-range microwave to save counter space.
L Shaped Kitchen Layout
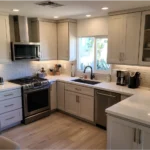
Two perpendicular runs meeting at a corner. The L shaped kitchen is the most popular choice among homeowners who change their kitchen layout, and for good reason. An L shaped layout opens the room to the dining and living areas, so the cook stays part of the conversation.
The L shaped layout also has the strongest island potential of any shape when you have the floor area. Place the refrigerator at one end of the L so grocery unloading happens near the entry. The two risks to watch: if the runs get long, your work triangle stretches past comfortable distances, and the inside corner can become dead storage that’s hard to reach. Good corner solutions and careful spacing keep both in check.
U Shaped Kitchen Layout
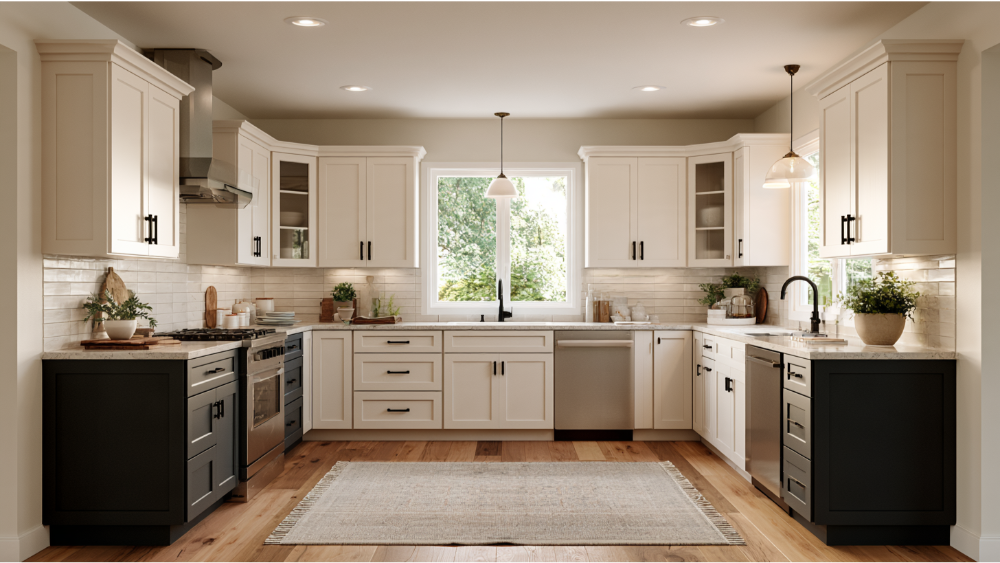
Three walls of kitchen cabinets wrapping around the cook. The U shaped layout delivers the most continuous counter and the most storage of the standard shapes, which makes U shaped kitchens a favorite of people who cook a lot and want everything within reach.
The tradeoff is corners. A U shaped design has two of them, and both need a plan so they don’t swallow storage. The u shaped kitchen layout can also feel enclosed in a smaller room, which is where lighter finishes and good lighting earn their keep. A kitchen island rarely fits a u shaped layout without the floor area to keep work aisles at 42 to 48 inches on every side, so don’t force one. If the room is tight, the three walls already give you ample storage without an island.
What About G Shaped Kitchens and Built In Appliances?
A g shaped kitchen is a U with a partial fourth wall or peninsula added. The g shaped kitchen layout offers the most counter and storage of any plan, which suits a larger room or a cook who wants a defined, high-capacity workspace. It is a sophisticated solution when you need serious storage and counter space in one footprint. The catch is that all that cabinetry can feel closed-in, so it needs enough square footage and light to stay comfortable. Built in appliances along the added leg keep the look clean and the footprint efficient.
Island vs. Peninsula: Which One Fits Your Room?

Neither is a layout. Both are modifiers you add to one of the perimeter shapes, and the choice comes down to space. A kitchen island needs roughly 42 to 48 inches of clearance on every side so people and doors can move freely. In a smaller kitchen, a peninsula attached to an existing run (or simply more open floor) often serves you better than squeezing in an island that chokes the aisles.
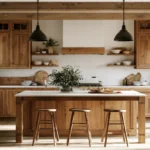
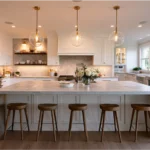
When there’s room, an island becomes the social focal point where guests gather and kids do homework, and it maximizes counter space for food prep at the same time. Add a few bar stools and it doubles as a spot for casual dining. In large kitchens, a double-island plan can split prep and dining into separate zones. Worth knowing: among recent renovators, 58% added or updated an island while 36% have none at all. No island is a perfectly good decision, not a compromise.
Work Triangle vs. Work Zones
The work triangle connects your three busiest points: the sink, the refrigerator, and the cooking surface. NKBA guidance recommends the three legs total no more than 26 feet, with each leg between 4 and 9 feet, and no leg crossing an island or peninsula by more than 12 inches. Keep those distances tight and the cook isn’t walking marathons.
But the triangle is a baseline test, not the whole plan. Modern kitchen floor plans organize around work zones: food storage and grocery drop-off, prep, cooking, cleanup, a beverage or coffee station, snacks, and serving. When more than one person cooks, zones matter more than the triangle because two cooks need their own functional space. Treat these NKBA figures as recommendations, not code.
The Measurements That Make or Break a Layout

A kitchen layout lives or dies on its clearances. Here are the NKBA planning numbers that keep a kitchen working day to day:
| What | Recommended |
|---|---|
| Work aisle, one cook | 42 inches |
| Work aisle, multiple cooks | 48 inches |
| General walkway | 36 inches minimum |
| Clearance behind seating | 32 / 36 / 44 inches (no traffic / edge past / walk past) |
| Seating width per diner | 24 inches |
| Sink landing areas | 24 inches one side, 18 the other |
| Primary prep surface beside sink | 36 by 24 inches |
| Dishwasher to sink + standing room | Within 36 inches; 21 inches standing space |
| Fridge, oven, microwave landing | 15 inches |
| Cooktop landing areas | 12 inches one side, 15 the other |
| Counter behind island/peninsula cooktop | 9 inches |
Every number above is an NKBA recommendation, not a legal requirement. Actual code depends on your jurisdiction, the scope of your project, and the manufacturer’s appliance instructions.
Watch the Appliance Doors and Drawers
A floor plan can look generous on paper and fall apart the moment things open. Picture the dishwasher, oven, refrigerator, pantry, and a deep drawer all open at once. Where do they collide?
Common trouble spots:
- A dishwasher tucked into a corner where its open door blocks the adjacent cabinet
- An oven door that swings into a walkway
- Two opposing appliances in a galley that can’t both open
- A fridge door that bumps a perpendicular run
Built in appliances ease a lot of this in small spaces because they sit flush and swing within a cleaner footprint, cutting visual clutter at the same time. Walk the plan door by door before you commit.
Can Your Existing Footprint Just Work Better?

Here’s the insight most gallery articles skip: 52% of homeowners change their kitchen layout, but 68% keep the room roughly the same size. A better plan rarely requires an addition.
Before you talk about moving walls, consider:
- Rearranging appliances and kitchen cabinets within the existing shape
- Removing an awkward peninsula, or adding one instead of a full island
- Extending bottom cabinets and upper runs to reclaim storage space
- Smart storage solutions like pullouts and corner units for additional storage
- Using lighter colors and reflective surfaces to make the room feel larger
- Moving a doorway or widening an opening for better traffic flow
Moving plumbing, structural elements, or ventilation can be the right call when the current bones genuinely limit how you live. But it’s worth earning that expense, not defaulting to it. A smart kitchen renovation often improves kitchen workflow without touching a single wall.
Planning for Accessibility and the Future
More than half of homeowners, 53%, address current or future needs during a kitchen renovation. If you plan to stay in your home, a few universal-design benchmarks are worth knowing: a 30-by-48-inch clear floor space at appliances, a 60-inch turning circle, 60 inches between the arms of an accessible u shape, and at least one work surface no higher than 34 inches. Pullout storage, full-extension drawers, added task lighting, and nonslip flooring all help at any age.
One clarification: ADA standards generally do not apply to privately owned single-family homes. These are voluntary aging-in-place references to plan around, not legal requirements you must meet.
Kitchen Layout Mistakes to Avoid
- Choosing finishes before you’ve confirmed appliance specifications
- Forcing an island into a room that can’t hold the clearances
- Routing household traffic flow straight through the cooking zone
- Ignoring how appliance doors overlap when open
- Putting the dishwasher in a corner where it fights a cabinet
- Leaving too little landing space beside the sink and cooktop
- Splitting your work centers apart with a run of tall cabinets
- Designing for a pretty rendering instead of your daily routine
From Layout to a Buildable Plan
A kitchen layout is not an isolated cabinet drawing. Cabinet elevations, appliance specifications, electrical, plumbing, ventilation, and countertop templating all have to coordinate before anything gets fabricated. Change one and the others shift.
Permits matter too. Moving walls, plumbing, wiring, gas connections, or ventilation commonly triggers permits and inspections, so check with your local building department on scope. Homeowners in Concord and the greater Sacramento area should confirm their project with the city building division under the current California Building Standards Code, and any paid work disturbing paint in a pre-1978 home should follow EPA Lead-Safe practices. Those details vary by project, which is exactly why coordination up front prevents surprises later.
Design Inspiration From One Accountable Design-Build Team
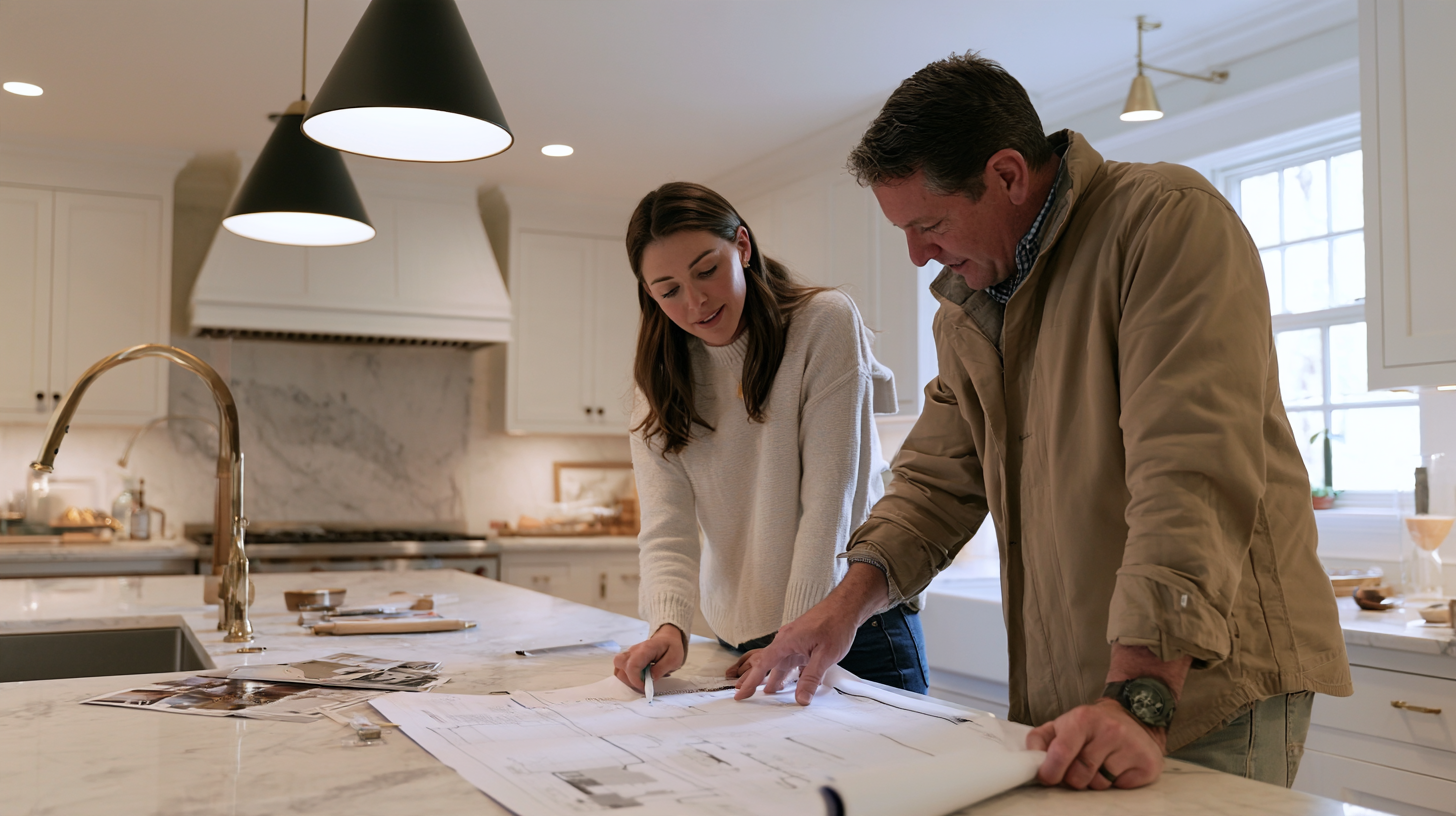
When one team owns the whole plan, the pieces fit. America’s Dream HomeWorks is family-owned and has been transforming kitchens since 2001, serving more than 19,000 homeowners across our regions. We’re a full-service design-build company, which means we handle design, DreamLine Custom Cabinetry, in-house stone fabrication, countertops, permitting, and installation under one roof. Whether you lean toward clean shaker cabinets or something more modern, we make sure the finishes blend seamlessly with how your family lives. We’ll never send you looking for another contractor to finish what we started.
That accountability is backed up. Our DreamLine cabinetry carries a limited lifetime warranty, every remodel includes a 24-month labor warranty, and we hold CSLB License #853669, EPA Lead-Safe certification, and an A+ BBB rating. Our 20,000-square-foot showroom in North Highlands, the largest of its kind in the region, lets you use our visualizer tools and gather design inspiration while you watch your layout take shape before a single cabinet is built.
Frequently Asked Questions
What are the 5 basic kitchen layouts?
What is the most efficient layout for a small kitchen?
What is the work triangle?
How much space do I need around a kitchen island?
Where should I put a dining table in an open kitchen?
What is the correct order for a kitchen remodel?
Ready to Test Your Layout? Let’s Start With a Free Consultation
The smartest time to get your kitchen layout right is before demolition, not after. Schedule a free consultation and we’ll measure your room and compare the kitchen floor plans that actually fit it, giving you a streamlined appearance that still delivers the storage and counter space your family needs. Or visit our 20,000-square-foot showroom in North Highlands to use the Kitchen Visualizer Tool and stand inside the possibilities in person. Call us at (916) 701-9660 whenever you’re ready. Your dream kitchen starts with a plan built around how your family lives.