Key Takeaway
A bathroom remodel before and after does more than refresh finishes: it improves lighting, storage, the wet area, and daily function within the same footprint. Most of the six transformations detailed here changed everything visible without moving a single wall or plumbing line. Layered lighting and a larger shower consistently deliver the biggest impact, matching 2025 Houzz data showing 82% of renovated bathrooms got upgraded lighting and 75% got upgraded showers.
A successful bathroom remodel before and after changes more than the color of the tile. It improves the floor plan, the lighting, the storage space, the wet area, and the way the room feels at six in the morning. The most useful before-and-after examples don’t just show you a prettier room; they tell you what changed, what stayed exactly where it was, and why the finished bathroom works better than the one it replaced.
This post is written for the homeowner standing in a dated bathroom, phone in hand, trying to figure out how far to go. Imagine walking in tomorrow morning and not flinching at the lighting or hunting for a towel. We’ll walk through six kinds of transformations, decode the decision behind each one, and then show you the work that lives behind the finished surfaces. That hidden work is what decides whether your “after” photo still looks good in ten years.
What Makes a Bathroom Before-and-After Actually Successful?
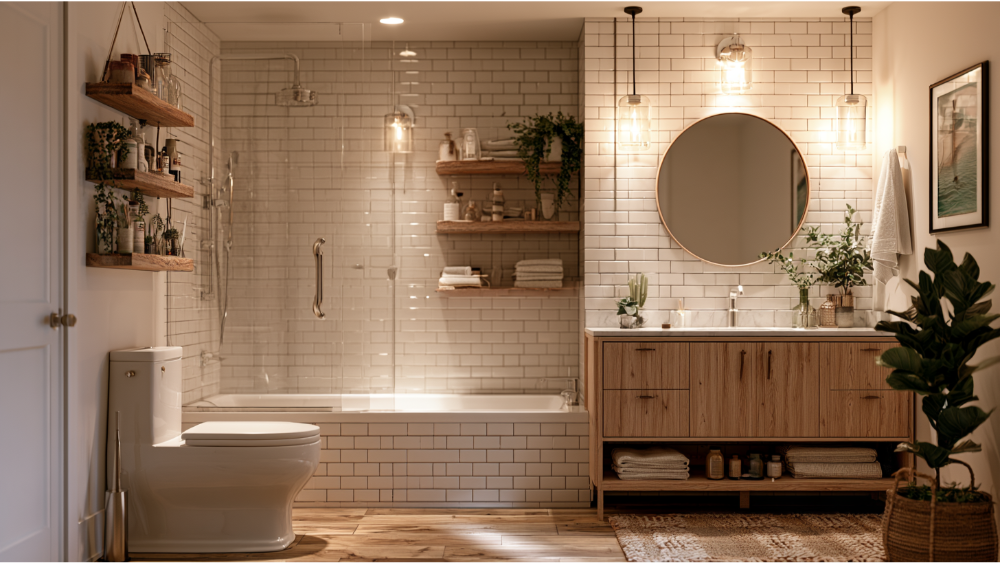
The best transformations solve a practical problem first. Style follows. When a bathroom photograph makes you stop scrolling, it’s usually because someone fixed something functional and the beauty came along for the ride.
A strong “after” improves at least a few of these:
- Function: the room supports how the household actually uses it
- Light: shadows gone from the mirror, mood changed entirely
- Storage: counters clear because things have a home
- Comfort: a shower you want to stand in, a tub deep enough to soak
- Maintenance: fewer grout lines and fewer surfaces that hold water
- Safety: a lower step-in, a place to sit, controls you can reach
- Moisture control: ventilation and waterproofing doing their job quietly
- A look that fits the house and the people in it
The data lines up with that. In the 2025 U.S. Houzz Bathroom Trends Study, 82% of renovated bathrooms got upgraded lighting and 75% got upgraded showers. In the 2026 NKBA Bath Trends Report, 91% of industry respondents named lighting quality a top design consideration. Light and the wet area are where the real change happens, and neither one requires a bigger bathroom.
Cosmetic Update, Partial Remodel, or Full Bathroom Renovation?
Before you look at another gallery, it helps to know which of these four projects you’re actually looking at. Galleries almost never label the difference, which is why a new mirror and a gut renovation end up sitting side by side.
- Cosmetic update: the room works. The finishes are just tired. Paint, mirror, light fixtures, faucet, maybe new flooring.
- Partial remodel: one zone has failed, usually the shower or the vanity area. You replace that zone properly and leave the rest.
- Full remodel: surfaces, fixtures, and often plumbing and electrical all get replaced within the same footprint. This is the most common real transformation.
- Layout-changing bathroom renovation: walls move, plumbing relocates, a tub deck disappears. Highest impact, highest disruption, most permit involvement.
Dated laminate or sheet vinyl usually points to at least a full remodel, because the surfaces underneath rarely aged better than the surfaces on top. If the room still has carpet in it, plan on pulling it up and having someone look hard at the subfloor. If you want help sorting where you land, our guide on a cosmetic update versus a full bathroom remodel breaks it down further.
Each transformation below follows the same format so you can compare them fairly: Before (what wasn’t working), Goal, What changed, What stayed, After, Why it works, and What you can’t see.
Before and After #1: From Dark and Dated to Bright and Calm
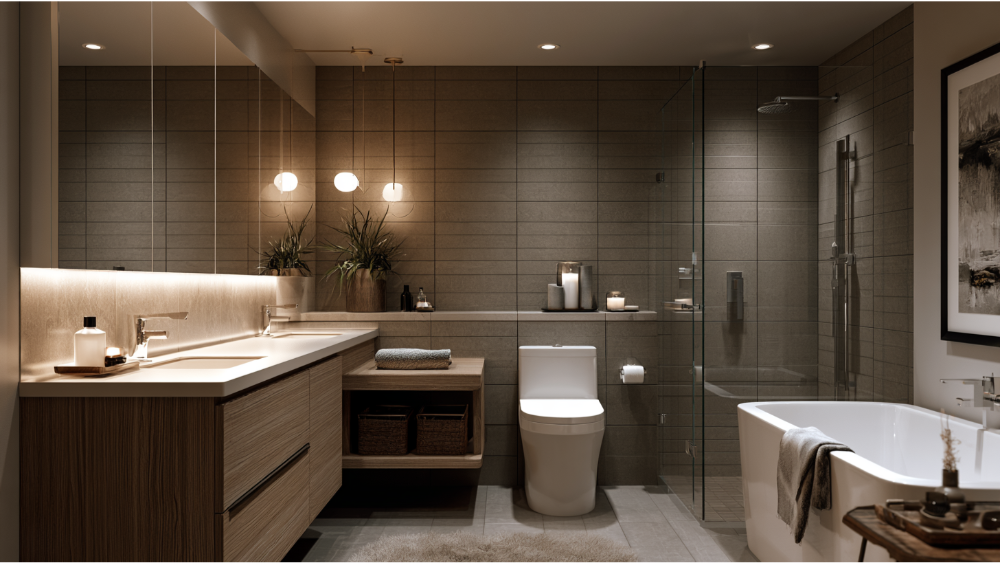
Before: one ceiling fixture in the middle of the room, dark floor and wall tile, a small builder mirror, and a vanity that threw a shadow straight across your face.
Goal: a bathroom that functions at 6 a.m. without anyone squinting.
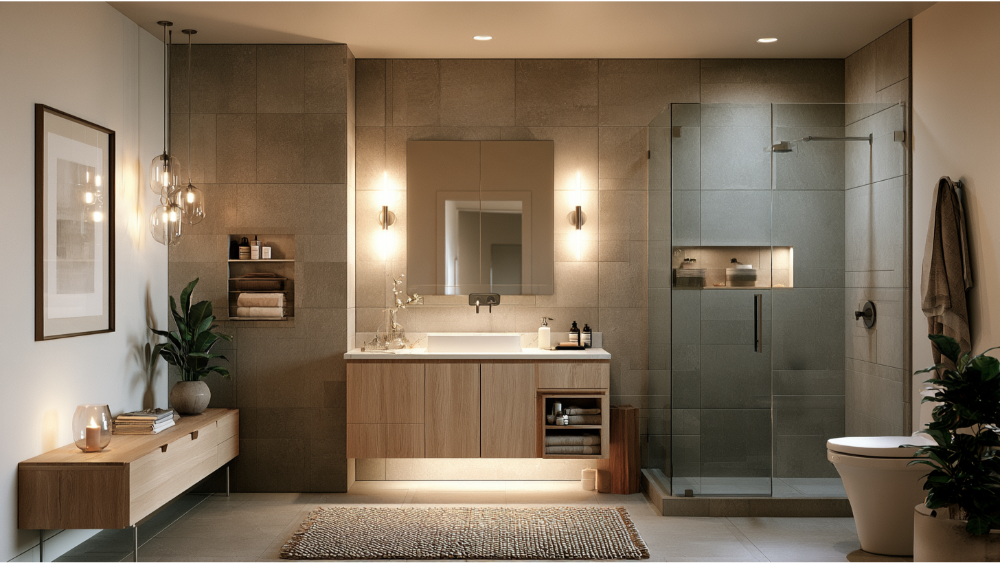
What changed: layered lighting. Ambient light overhead, task lighting at face height beside or above the mirror, and a dedicated light in the shower. Lighter wall and floor tile to bounce what light there is. A wider mirror over the sink. Clear glass instead of a curtain.
What stayed: the footprint and every plumbing location, including the sink, the toilet, and the drains.
After: the same square footage reads noticeably larger and calmer, because the eye travels across the space instead of stopping at a dark wall.
Why it works: a brighter ceiling bulb doesn’t fix shadows, it just makes them harsher. Light at face height does. This is the single most transferable lesson in this post, and it applies to a hall bath shared by two bedrooms as much as it does to a primary en suite bath.
What you can’t see: the fixture boxes, switch legs, and dedicated circuit were set and inspected before a single sheet of drywall went back up. Lighting is decided before walls close, not after.
Before and After #2: From Cramped to Open Without Moving a Wall
Before: a small hall bath with a deep, bulky vanity, a framed enclosure or curtain across the tub, and a door that clipped the vanity corner every time it swung.
Goal: more room to stand, without adding a square inch to the floor plan.
What changed: a shallower vanity with smarter internal storage, frameless glass in place of the framed enclosure, and large-format floor tile (12 by 24 inches is a common, forgiving choice) run continuously from the room into the shower. Where the framing allowed, a pocket door removed the swing arc entirely. Recessed and wall-hung cabinets replaced anything that stuck out, and the hallway linen closet just outside the door absorbed the towels.
What stayed: the walls, the window, the drains.
After: the room didn’t get bigger. The barriers came out. A shower around 3 by 5 feet can feel genuinely open and spacious once the visual walls around it are gone.
Why it works: your eye measures the longest uninterrupted line it can find. Continuous flooring and clear glass create a longer one, and a clear view through to the tile beyond makes the wet area read as part of the room rather than a closed box. Curbless or low-curb entry extends the same effect at the floor. The shape of the room never changed, only what interrupted it.
What you can’t see: in small bathrooms, every inch of reclaimed depth came from framing and plumbing decisions made at rough-in. More ideas in our small bathroom remodeling guide.
Before and After #3: From Tub/Shower Combo to Walk-In Shower
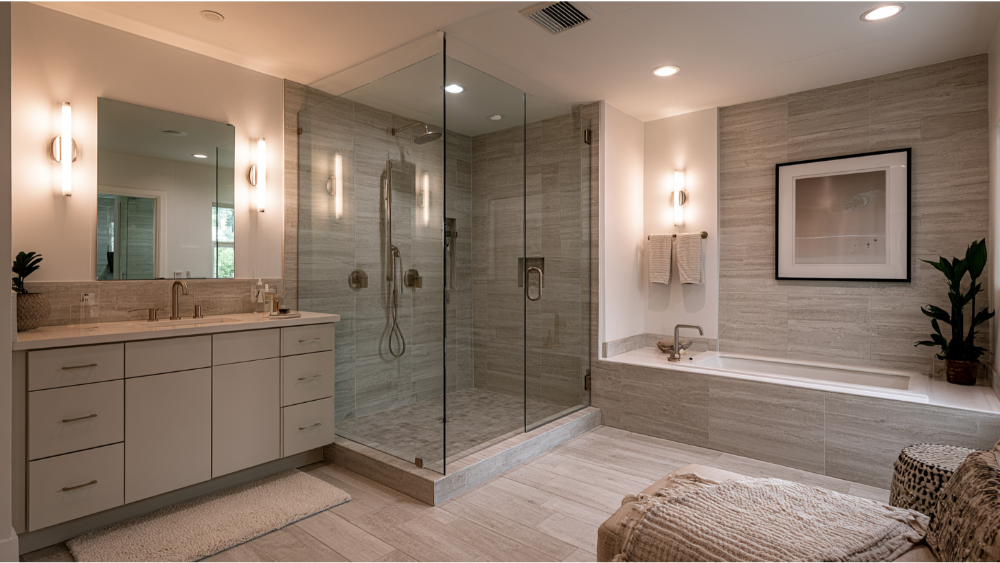
Before: a standard tub/shower combo nobody had taken a bath in for years, with a curtain, a soap dish, and grout that had stopped being white sometime in the last decade.
Goal: a shower two adults could actually use, with less to scrub.
What changed: the tub came out and the wet area expanded into its footprint. Large-format slab walls (we’ve done Roseville bathrooms with Dekton shower walls fabricated in our own shop) replaced small tile, a recessed niche with a built-in shelf replaced the plastic caddy, a bench went in on the back wall, and a linear drain along the entry let the floor slope cleanly in one direction.
What stayed: the toilet and vanity locations, and the general wet-area zone.
Why it works: 89% of NKBA respondents see smaller or no grout lines as desirable, and 55% rate a larger shower as more important than keeping a tub. Fewer joints mean less upkeep, which is a daily benefit rather than a photo benefit.
Shower Tile Versus Large-Format Slab Walls
Both can work, and the choice is less about looks than about how you want to spend your Saturdays. Traditional shower tile gives you pattern and color, from classic subway to hexagon to herringbone patterns, and small repairs stay small. The trade-off is grout: more lines to seal, more lines to scrub. Full-height slab walls in quartz, Dekton, or natural stone reduce the joints to a handful, and a single book-matched slab behind the shower head is genuinely stunning in person. That’s a big part of why they keep showing up in the bathrooms we build. If you do choose tile, a single accent band or a tiled niche gives you the detail without covering every surface in it.
One more thing worth deciding early: the shower head. A fixed head plus a handheld on a slide bar covers rinsing, cleaning the enclosure, and washing a child or a dog, and the valve behind the wall has to be specified for that before tile goes up.
The honest caveat: if this is the only tub in the house, or you have young kids, think hard. Removing your last tub is a real trade-off. More than a few homeowners have come to us planning to lose the tub and ultimately decided to keep it in the hall bath and convert a different bathroom instead. Ask who bathes here, and whether another tub exists elsewhere, before the demo hammer comes out. If you’re weighing it, see our tub-to-shower conversion guide. One practical note for any tiled project: order 10 to 15% more tile than you measured, for cuts, waste, and future repairs.
Before and After #4: From Cluttered Counters to a Vanity Area That Works
Before: a single sink cabinet with one cavernous door, a lazy Susan of half-used bottles on the floor of it, and everything anyone actually uses sitting on the counter.
Goal: two people, one bathroom, one clear countertop.
What changed: drawers instead of doors. Drawer organizers sized to what the family owns, an in-drawer outlet so styling tools stay put and stay plugged in, and tall linen cabinets where a blank wall was doing nothing. A recessed holder put toilet paper within arm’s reach of the seat instead of on a wobbling floor stand. Where the wall length allows, a 60-inch double sink vanity gives two people their own space without crowding either one. Undermount sinks kept the counter easy to wipe, and a shallower sink bowl left more usable drawer space directly underneath.
What stayed: plumbing rough-ins, mostly. A second sink can often be added within the same wall, which saves the disruption of a relocated drain line.
Why it works: storage you can see into gets used. Storage you have to kneel and reach into becomes a graveyard. Drawers turn a vanity into a system, and new faucets and pulls act like jewelry, pulling the whole area together at very little cost. Bulk paper goods and spare towels are usually happier in the laundry room or hall closet anyway, which frees the vanity for what you touch every day.
This is where we usually build DreamLine Custom Cabinetry, our own line, made in America and carrying a limited lifetime warranty. Sizing the cabinets to your wall instead of to a stock dimension is often what makes the double vanity fit at all, and it lets us work around an awkward corner or an L-shaped wall that stock boxes simply can’t handle. More on that in choosing bathroom vanity storage.
Before and After #5: From Builder-Grade to Classic, With One Place for Visual Interest
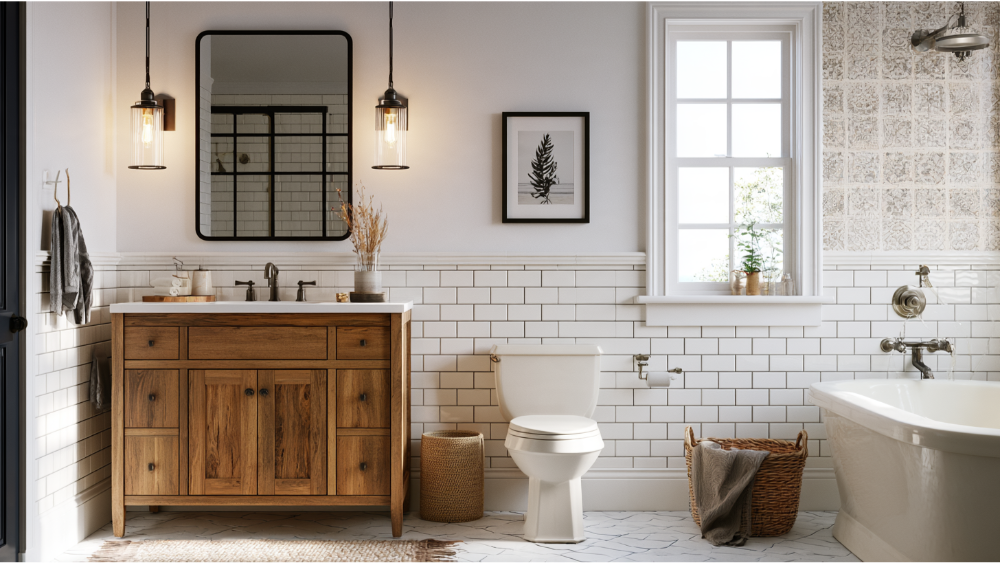
Before: beige everything. Nothing broken, nothing memorable, a bathroom with no point of view.
Goal: character that still looks right in fifteen years.
What changed: one deliberate focal point, and quiet everywhere else. That might be a classic marble hexagon floor, a patterned shower niche, or a navy vanity against light gray tile. Warm neutrals, a natural wood or stone texture for contrast, and a freestanding tub centered under a window if the room can support it. A tub around 55 by 32 inches is usually deep enough to genuinely soak in, which matters more than the shape of the silhouette.
Why it works: pick one hero. When the floor, the walls, the vanity, and the fixtures all compete, the room reads busy rather than designed. Transitional and classic styles led future expectations at 70% in the NKBA report, and that tracks with what we see: the projects homeowners still love years later are rarely the trendiest ones. Restrained surfaces also let you swap the decor, the art, and the towels whenever you feel like it, without repainting anything.
The honest caveat: a freestanding tub under a window needs drain access in the floor and privacy from outside. Without both, it’s a photograph, not a plan. Confirm that during design, not during demolition.
Before and After #6: From Hard to Use to Safer and More Comfortable
Before: a high tub wall stepped over twice a day, a slick floor, and controls you had to lean into the spray to reach.
Goal: a bathroom that’s easier for everyone in the house, now and later.
What changed: a low-threshold or curbless entry, a built-in bench, a handheld sprayer on a slide bar, a slip-resistant floor, better lighting, and solid blocking inside the walls so grab bars can be added wherever they’re wanted. A comfort-height toilet replaced the original. Where the framing allowed, a wider doorway (around 34 inches) made the bathroom easier to enter with hands full or a walker.
Why it works: 68% of bathroom renovators in the Houzz study considered special needs in their plans, and 47% expected those needs five or more years out. Among upgraded showers, 44% were low-curb and 20% were fully curbless. This is comfort design that happens to age well, not medical equipment.
One clarification worth making: ADA standards govern public facilities, not ordinary private homes. Nobody is going to require this of you. The same principles just make a bathroom better to live in, especially one attached to a primary bedroom you plan to use for decades. See our notes on aging-in-place bathroom remodeling.
Bathroom Remodel Before and After: The Changes at a Glance
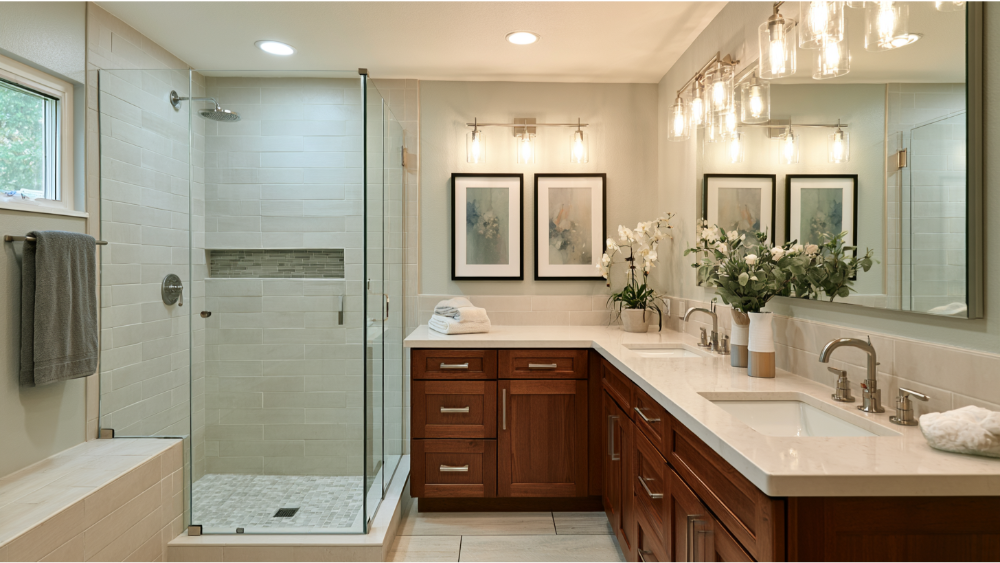
Side by side, the pattern across all six is hard to miss: most of the impact came without moving a wall.
| Before problem | Key change | Layout changed? | Main life benefit |
|---|---|---|---|
| Dark, shadowed room | Layered lighting, lighter tile, wider mirror | No | Easier grooming, calmer space |
| Cramped hall bath | Frameless glass, shallower vanity, continuous tile | No | Room to stand and move |
| Unused tub/shower combo | Walk-in shower with slab or large shower tile walls, bench, linear drain | Wet area only | Usable shower, less scrubbing |
| Cluttered counters | Drawer-based custom vanity, double sink, in-drawer outlet | No | Clear counters, faster mornings |
| Builder-grade finishes | One focal point material, quiet supporting palette | No | A bathroom that fits the house |
| High shower barrier | Low or curbless entry, bench, blocking for grab bars | Possibly | Safer, more comfortable access |
What Bathroom “After” Photos Never Show You
A beautiful after photo begins with decisions you can’t see in it. Unlike repainting a dining room, this work touches plumbing, electrical, waterproofing, and ventilation all at once. Here’s what’s behind that tile.
Waterproofing. Tile and grout are the finish, not the waterproofing system. The assembly behind them, the membrane, the pan, the sealed transitions where the wall meets the floor and the curb, is what keeps water out of your framing. California code requires shower and tub-shower walls to have a smooth, nonabsorbent surface extending at least 72 inches above the drain inlet, and built-in tubs with shower heads need waterproof joints at the wall. That’s the minimum finish standard, not the whole story.
Ventilation. An operable window is not a substitute for humidity control. Bathrooms with a tub, shower, or spa need a mechanical exhaust fan that discharges outdoors, commonly 50 CFM intermittent or 20 CFM continuous. A quiet fan on a timer or humidity sensor actually gets used, which is the point. Skip this and you’ll be repainting a ceiling in three years.
Electrical. GFCI protection on bathroom receptacles, a dedicated 20-amp circuit, at least one receptacle within 3 feet of each wash basin, and tamper-resistant devices where required.
Water efficiency. California caps toilets at 1.28 gallons per flush, shower heads at 1.8 gallons per minute, and private lavatory faucets at 1.2 gallons per minute. Good fixtures hit those numbers and still feel strong, and a well-engineered toilet at that volume clears just fine.
What the old wall was hiding. Once a 30-year-old shower comes out, you sometimes find a soft subfloor, a rotted plate, or a drain line that should have been replaced two owners ago. Wall blocking for future grab bars goes in at the same stage, while the studs are open and it’s nearly free.
These specifics reflect California’s current standards, and the 2025 California Building Standards Code took effect January 1, 2026. Requirements and permit triggers vary by jurisdiction. Moving plumbing, altering electrical, or changing walls or windows commonly requires a permit, so confirm scope with your local building department before demolition. In pre-1978 homes, paid work that disturbs painted surfaces generally falls under the EPA’s Renovation, Repair and Painting Rule. We’re an EPA Lead-Safe Certified Firm, which means trained renovators and lead-safe work practices on qualifying jobs, not a guarantee that any given home is lead-free. More detail in our pieces on how bathroom waterproofing works and bathroom permits and code requirements in Roseville.
How to Plan Your Own Bathroom Renovation
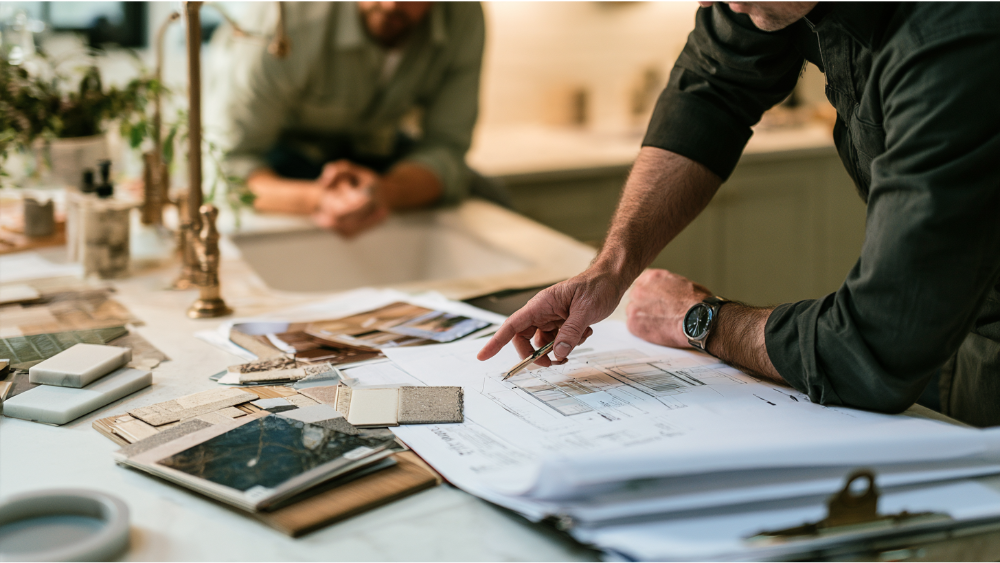
Planning routinely takes longer than construction, and that’s not a flaw in the process. It’s where you avoid the expensive surprises.
- Write down what isn’t working, specifically, hour by hour and fixture by fixture.
- Define who uses this bathroom and how.
- Rank function ahead of finishes.
- Decide whether the floor plan truly needs to move, or whether the barriers just need to come out.
- Plan storage around what you actually own, not a generic cabinet count.
- Choose lighting before walls close.
- Think about the next ten years while the studs are open.
- Confirm permit requirements with your building department.
- Finalize tile, countertops, and fixtures before demolition wherever possible.
- Get the full scope, payment schedule, change-order process, and warranty in writing.
Visualization helps more than most people expect. Treat the galleries as inspiration rather than instructions, then translate what you like into your own dimensions. Mood boards let you compare materials in natural light, and 3D and augmented-reality tools let you test a layout before committing. Our Bathroom Visualizer Tool is a good starting point, and our showroom is where you can put a countertop sample next to the shower tile and the cabinet door and see whether they actually get along. An hour there can save weeks of second-guessing.
On the numbers: in the 2026 U.S. Houzz & Home Study, 37% of renovating homeowners exceeded their planned spending and 25% started with no budget at all. A detailed written scope protects you from both. For California homeowners, the Contractors State License Board requires a written home improvement contract for projects over $500, and caps the initial down payment at $1,000 or 10% of the contract price, whichever is less. Worth knowing before you sign anything. Also see questions to ask a bathroom remodeling contractor.
Why One Accountable Team Makes the After Photo Hold Up
Eighty-four percent of homeowners in the Houzz bathroom study hired professionals. The harder question is how many professionals, and who answers the phone when something goes wrong.
We’re family-owned and have been remodeling since 2001, with more than 19,000 homeowners served. We work as a design-build firm, which means design, permitting, material procurement, our own stone fabrication, our own cabinetry manufacturing, and installation all happen in-house. One contract, one team, one point of accountability. We’ll never send you searching for another contractor to finish what we’ve started, and we stay until the punch list is complete.
The credentials, plainly: CSLB License #853669 in California, EPA Lead-Safe Certified Firm, and an A+ BBB Accredited Business. Every remodel carries a 24-month labor warranty, and DreamLine Custom Cabinetry carries a limited lifetime warranty. Our 20,000-square-foot Grand Kitchen and Bath Showroom in North Highlands is the largest of its kind in the region, and it exists for exactly the reason you’d hope: so you can stop guessing from photos.
We remodel bathrooms throughout Roseville and the greater Sacramento area, including documented full and partial Roseville projects, plus the Bay Area, Spokane, and Post Falls.
Ready to see what your bathroom could become? Schedule a free consultation, call (916) 701-9660, email [email protected], or visit our showroom to compare tile, countertops, and cabinetry side by side.
Frequently Asked Questions
What is a realistic budget for a bathroom remodel?
It depends on your scope tier, whether plumbing or walls move, which fixtures and surfaces you select, what demolition uncovers, and what your permits require. Those five factors swing the number far more than the room’s square footage does. Since 37% of homeowners exceed planned spending and 25% start with no budget, a detailed written scope serves you better than any ballpark. A free in-home estimate gives you a real figure for your bathroom.
What does a smaller bathroom budget actually get you?
Usually a cosmetic update or a well-executed single-zone partial remodel: a new vanity and countertop, a new sink and faucet, upgraded lighting, fresh flooring, and a replaced or refinished tub, with the floor plan and plumbing staying put. Our one-day bathroom remodel service covers tub replacement, shower enclosures, wall surrounds, and tub-to-shower conversions, which is the fastest, most contained option available.
What is the hardest part of a bathroom renovation?
Two things. The decisions, because selections have to be locked early or they stall demolition. And the concealed work: waterproofing, drainage slope, venting, and whatever the old wall was hiding. Small bathrooms magnify every mistake, since every trade works in the same few square feet. Keeping it all under one roof removes the handoff gaps where those mistakes usually happen.
Can I transform my bathroom without changing the layout?
Yes, and most of the transformations above did exactly that. Leaving the sink, toilet, and drains in place skips the most disruptive and permit-heavy part of the job, while lighting, glass, tile, vanity storage, and finishes deliver nearly all of the visible change. Moving fixtures is worth the trouble when circulation itself is the problem, not just the look.
More Posts to Read Before Your Bathroom Renovation
If this post left you with follow-up questions, these are the ones homeowners ask next: