Key Takeaway
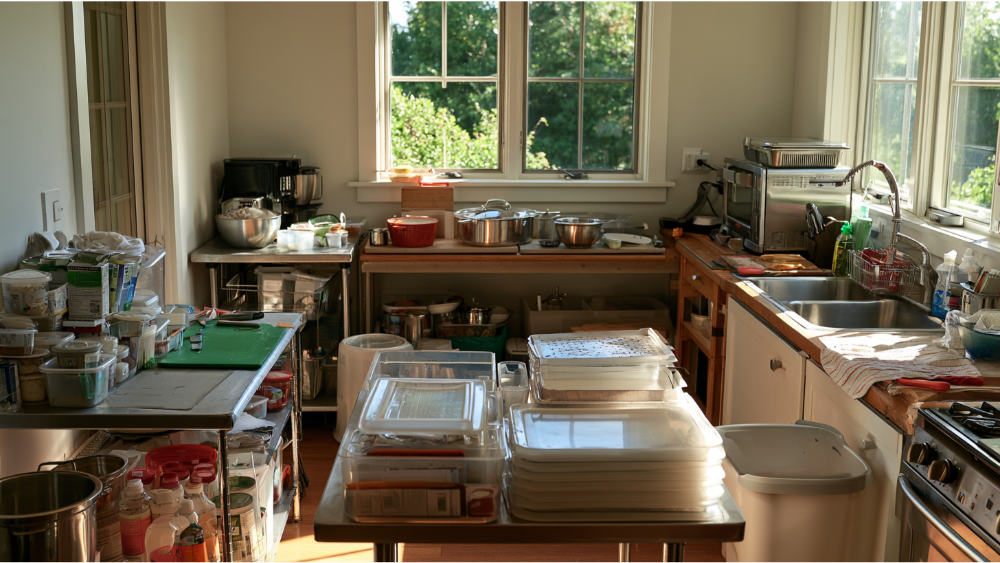
A temporary kitchen during a remodel needs five essentials in place before demolition starts: safe cold storage, a clean prep surface, one cooking appliance, a washing station, and sealed food and dish storage. Set it up in a clean room away from the work zone, as close to water and a live outlet as possible. Coordinate refrigerator relocation, outlet access, and utility shutoff dates with your remodeling team first so nothing gets improvised mid-project.
Set up your temporary kitchen before demolition starts, in a clean room outside the work zone, as close as you can get to water and a confirmed power source. At minimum you need five essentials: safe cold storage, a clean prep surface, one cooking appliance you’ll actually use, a washing station, and sealed storage for food and clean dishes. Coordinate all of it with your remodeling team first, so refrigerator relocation, outlet access, and utility shutoffs are settled before anyone picks up a sledgehammer.
This guide is for the homeowner who has committed to a kitchen remodel and wants to keep the household running while the main kitchen is offline. The idea that holds it all together is simple: your temporary kitchen setup is part of the renovation plan, not a pile of appliances you throw together after the cabinets come out. Plan the process well and you lean less on takeout, keep some normalcy for your family, and save yourself a lot of stress.
Start With the Remodel Schedule, Not the Appliance List

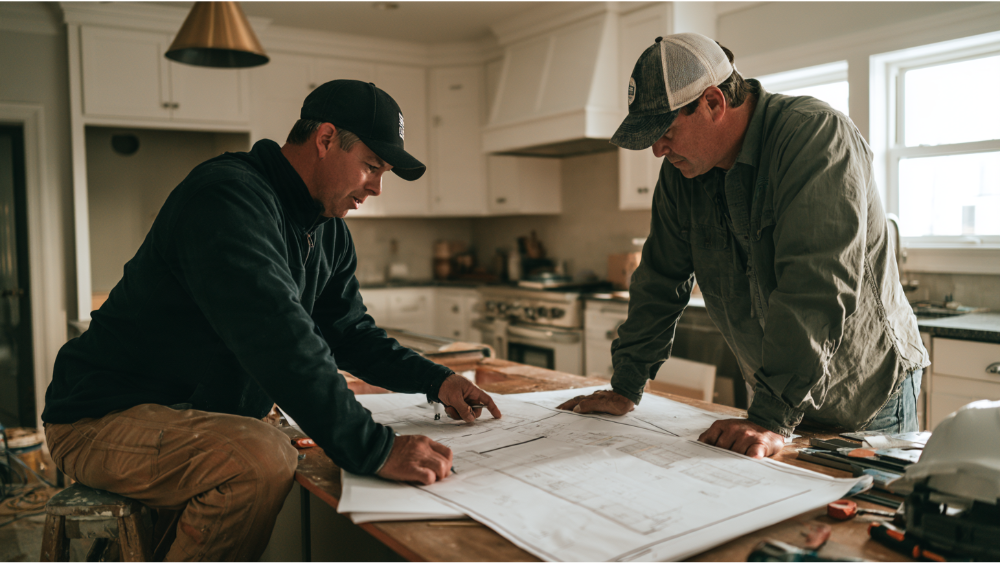
The most useful planning you can do happens with your project team before demolition day. A temporary kitchen that ignores the construction schedule falls apart the first time the water gets shut off or a delivery blocks the only path to your fridge.
Settle these questions with your remodeler up front:
- When the main kitchen goes offline, and for roughly how long each phase runs
- Which days water or power will be interrupted
- Who moves the refrigerator and reconnects it, and where it will live
- Where materials and debris will be staged
- Which outlets and circuits stay live and available to you
- Which entrance the crew will use, so household traffic stays clear
- Whether your temporary setup has to move as the work progresses
This is where a full-service, design-build model earns its keep. At America’s Dream HomeWorks, every phase of your kitchen renovation runs in-house, so occupied-home logistics are part of the job, not something we hand back to you to solve alone. We won’t send you searching for another contractor to sort out your old fridge or your circuits. One accountable team manages the remodel and the living-around-it process together, whether the work touches a single room or your whole house. Keep in mind that duration is specific to your home. Scope, permitting, cabinetry, and inspections all affect it, so your team gives you a real timeline rather than a generic number of weeks.
Should You Stay Home, and Where Should the Temporary Kitchen Go?
Most families stay put during a kitchen-only remodel, but it’s worth thinking through honestly. If the project is whole-home in scope, or if a bathroom, running water, heat, or safe exits won’t be reliably available, relocating for part of the job may be the better call. Moving into an apartment or a guest room at a relative’s house is sometimes simpler than toughing it out at home. Kids, pets, older adults, and anyone with medical or strict dietary needs all raise the bar for what “livable” looks like. There’s no blanket yes or no. Talk it through with your team based on your actual scope.
Once you’re staying, pick the room carefully. The best spot sits away from construction dust, close to water, and on a surface you can wipe clean. If you can set up on the main floor near a half bath, cleanup gets easier. A finished basement or a spare bedroom can work too. Here’s how common options compare:
| Location | Distance from work | Sink access | Power | Cleanable surface | Temp control | Kid/pet separation |
|---|---|---|---|---|---|---|
| Dining room | Close | No | Usually good | Yes | Yes | Moderate |
| Laundry/utility room | Good | Yes | Good | Yes | Yes | Good |
| Finished basement | Very good | Sometimes | Varies | Yes | Yes | Good |
| Living-room corner | Moderate | No | Good | Varies | Yes | Harder |
| Garage | Very good | Sometimes | Varies | Yes | Poor | Good |
A laundry or utility room often wins because it pairs a utility sink with decent power, which makes washing dishes far easier. A dining room keeps meals close to normal but needs a washing plan elsewhere, so your dining table can double as prep space while the real kitchen sink is out of reach. Even a small sink in a nearby bathroom beats hauling dishes across the house. Match the room to what your family actually needs, then confirm the electrical capacity with your team before you commit.
Build the Five Zones of a Working Temporary Kitchen Setup
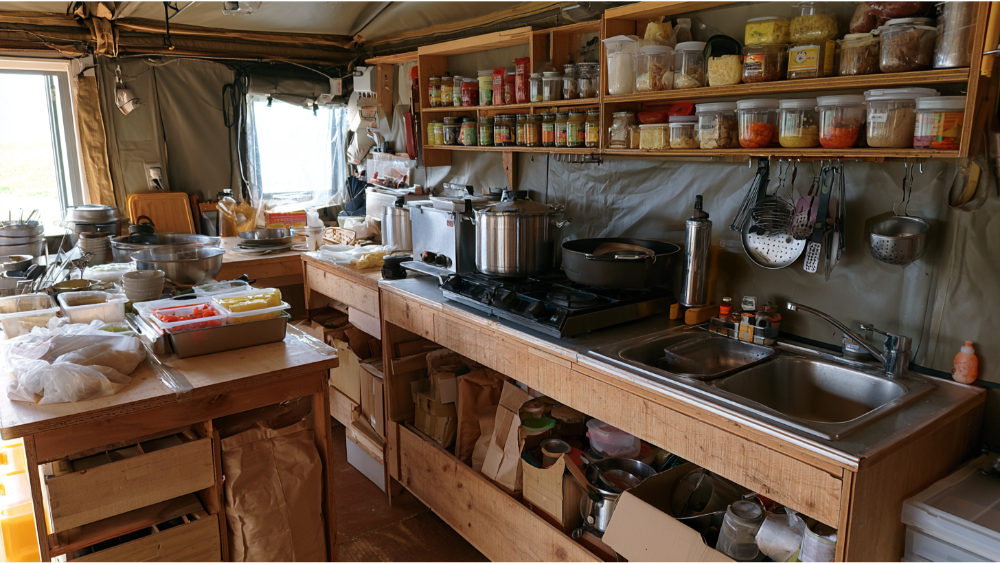
Think of the setup as five small zones. Get each one working and you have a functional kitchen, even in a tight space.
1. Cold storage. Use your existing refrigerator if it can be relocated, or add a mini fridge or a good cooler. Put an appliance thermometer inside so you can see the real temperature. If the fridge goes to the garage, don’t assume it’ll run fine. Check the manual, because operating limits vary by model, and watch the thermometer. A small chest freezer is worth keeping accessible too, since batch-cooked meals and leftovers are what carry most families through.
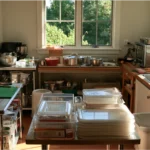
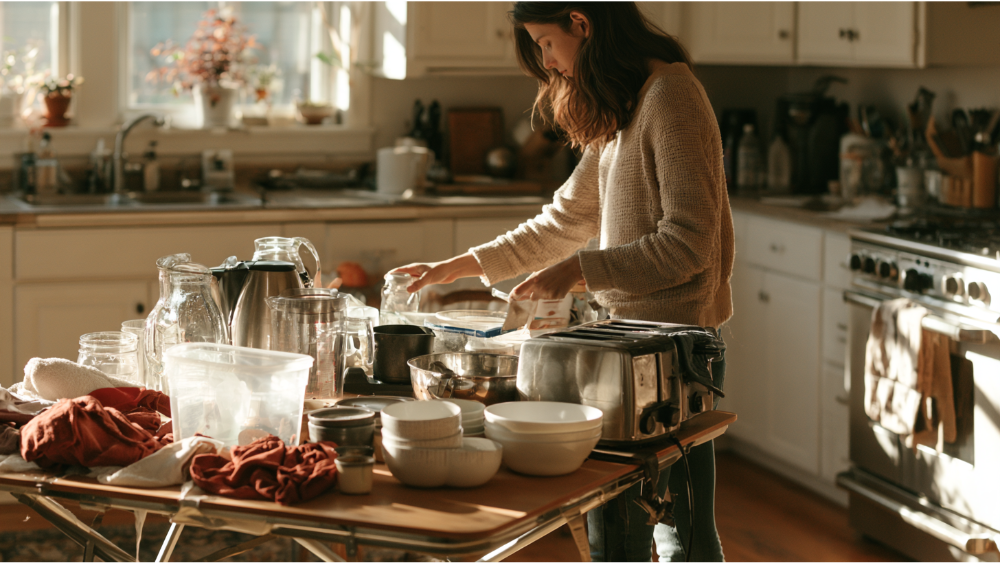
2. Clean prep. A stable heavy-duty folding table or a rolling cart gives you counter space for food prep. Add a cutting board, good task lighting, mixing bowls, and a surface you can wipe down between uses.
3. Safe cooking. Pick one or two indoor-rated small appliances based on the meals you’ll really make: a microwave, a toaster oven, an air fryer, an electric or induction cooktop, or a multicooker. A toaster oven and a countertop induction unit cover a surprising amount of real cooking, and an air fryer handles quick dinners with no oven at all. A single electric hot plate can handle a morning pot of oatmeal or a simmered sauce without much fuss. A microwave reheats batch meals in minutes. Resist the urge to line up five appliances you won’t use.
4. Washing and hand hygiene. A utility sink, laundry sink, or bathroom sink works, or a properly set-up portable sink. Use a two-bin system or one large dishwashing basin filled with warm, soapy water, plus a drying mat, soap, and clean towels. A countertop dishwasher is an option too if you have the hookup. Scrape food and grease into the trash before anything hits the water, which keeps washing dishes quick and your drain clear.
5. Storage and waste. Keep food and clean dishes in sealed plastic bins, and treat one bin as your makeshift pantry for shelf-stable staples. Put covered trash and recycling within arm’s reach, store cleaning chemicals separately and away from food, and pare your cookware down to the pots, pans, cups, and utensils you’ll actually use.
Temporary Kitchen Electrical and Fire Safety Tips
This is where a lot of advice goes wrong. Plenty of guides tell you to run several appliances off a power strip. Don’t.
- Plug only one heat-producing appliance into a wall outlet at a time (U.S. Fire Administration). A microwave and a coffee maker should not share one outlet, and an air fryer needs its own too.
- Don’t run cooking appliances off power strips or extension cords. Cords are for temporary use, not as a stand-in for real outlets (USFA/CPSC).
- Keep cords out of walkways and away from water. Don’t run them under rugs or through doorways.
- Use only indoor-rated equipment indoors.
- Never use a gas or charcoal grill, or any fuel-burning camp stove, indoors or in a garage (CPSC). Those create fire and carbon monoxide risk. Grills stay out in the backyard, always.
- Keep a 3-foot zone around hot equipment for kids and pets (USFA).
- Confirm your smoke alarms work, test them monthly, keep them at least 10 feet from cooking, and replace any that are 10 years old (USFA/NFPA).
The safest move is to let your in-house team or a qualified electrician confirm which outlets and circuits can carry your temporary setup, rather than guessing and tripping a breaker mid-dinner. A microwave and a toaster oven running together can pull more than a single circuit expects.
Keep Food Storage Safe and Dust-Free Without Your New Kitchen
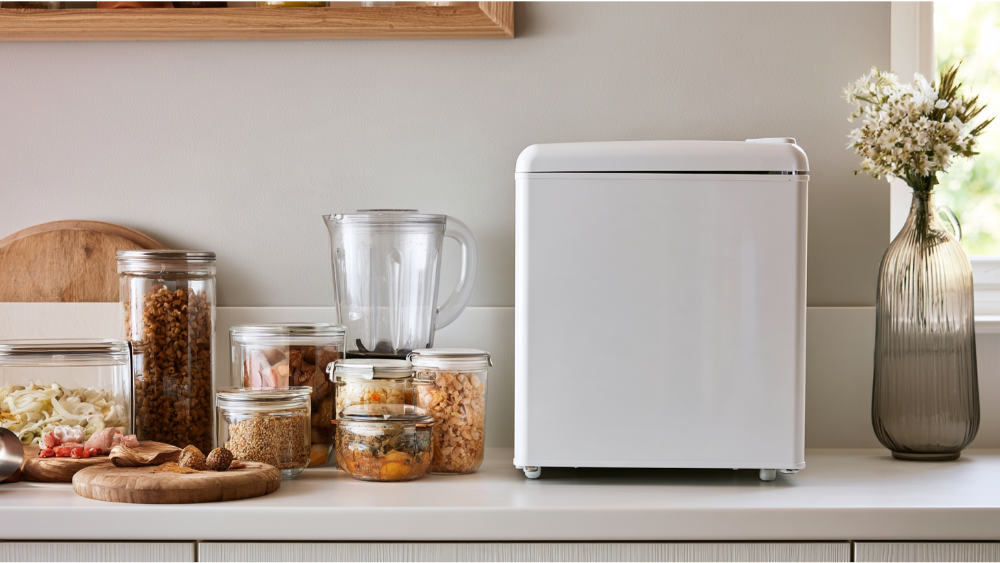
A relocated fridge still has to keep food safe. Hold the refrigerator at 40°F or below and the freezer at 0°F (FDA). Don’t leave perishables out more than 2 hours, or 1 hour when it’s above 90°F. An appliance thermometer matters here, especially in a garage or basement, and you shouldn’t overpack the fridge, since cold air needs to circulate. Keep raw foods separate from everything else.
For handwashing, soap and water for about 20 seconds is the standard (CDC). Hand sanitizer with at least 60% alcohol is a backup only when soap and water aren’t available, and it won’t do much on greasy or visibly dirty hands.
Dust is the other enemy. Keep your clean zone and the construction zone clearly separate, and store food, plates, and bowls in closed bins or stacked boxes. Let your contractor handle real containment and HVAC sealing. In homes built before 1978, disturbing painted surfaces triggers the EPA Renovation, Repair and Painting Rule, so a certified lead-safe firm should handle demolition and any painted-surface work. America’s Dream HomeWorks is an EPA Lead-Safe Certified firm, which means that containment is part of how we work, not an afterthought. On days when water or power is scheduled off, plan no-cook meals ahead so the rest of the day stays calm.
Plan Meals and a Grab-and-Go Essentials Kit
Pack a kit, not your whole kitchen. For most families the essentials mean one place setting per person plus a few extra paper plates, one good knife and a cutting board, a can opener, a mixing bowl, one or two versatile pots or pans, oven mitts, basic seasonings, storage containers, and dish soap with towels and trash bags. Add coffee and breakfast supplies if that’s central to your routine. Keep the kit somewhere easy to reach so nothing stays buried once the real cabinets are packed away.
Plan meals around the method, not the recipe. Think in buckets: no-cook, microwave, air fryer, multicooker or slow cooker, toaster oven, and outdoor grill (outdoors only). Ambitious projects like sourdough bread can wait until your future kitchen is finished. Batch-cook and move meals to the freezer before demolition so you have ready options. Repeat simple breakfasts and lunches, keep at least one no-cook backup meal on hand, and use disposable or compostable plates and bowls strategically on shutoff days to cut dishwashing. A quick Google search for method-based recipes can give you helpful ideas and tips when inspiration runs low. For bigger-picture planning, our kitchen remodel checklist and our guide on how to plan a kitchen remodel walk through the full project.
Your Before-Demolition Temporary Kitchen Checklist
- Location selected and approved by your project team
- Electrical plan confirmed (which outlets and circuits you can use)
- Refrigerator and freezer location set and appliance thermometer in place
- Washing station ready at a utility sink, with a scrape-first routine
- Food, plates, and dishes sealed in bins, away from dust
- Smoke alarms tested
- Kid and pet barriers up, 3-foot zone around hot equipment
- Meals batch-cooked and frozen
- Utility shutoff dates recorded
- Trash, recycling, and grease-disposal plan ready
Want one accountable team to plan the remodel and the living-around-it logistics together? Schedule a free consultation with America’s Dream HomeWorks, or visit our showroom to see the finishes for your new kitchen in person. Call (916) 701-9660 or request a free estimate online, and we’ll map out your project from design through installation.
Frequently Asked Questions
How do I set up a temporary kitchen during renovations?
Set it up before demolition in a clean room away from the work zone, built around five zones: cold storage, a clean prep surface, one cooking appliance, a washing station, and sealed food and dish storage. Coordinate the fridge, outlets, and utility shutoffs with your remodeler first, and keep a utility sink nearby for washing dishes. A temporary one does not need to be fancy, just functional.
What do you do while your kitchen is being remodeled?
You cook from your temporary kitchen using batch-cooked meals and simple no-cook options, leaning on a microwave, air fryer, or toaster oven, and most families stay home for a kitchen-only project. Relocate only if the scope or utility interruptions make staying impractical. Limited functionality is normal, so keep cooking simple.
What is the 30% rule in remodeling?
It’s a rough budgeting guideline that you generally shouldn’t spend more than about 30% of your home’s value on a single room. Treat it as a rule of thumb, since it varies by home and market. For real numbers on your kitchen renovation, request a free estimate rather than relying on a formula.
How long will I need my temporary kitchen?
It depends on your scope, permitting, cabinetry, and inspections, so there’s no universal number. Your project team gives you a timeline built around your specific home. For more posts like this one, explore our kitchen remodeling guides.